
If you just got a brand new camera, then you’re probably looking at its viewfinder and wondering exactly what you’re seeing. Just know that even advanced users sometimes look at it and see a ton of information. But you don’t need to be intimidated. Here’s what you need to know in under 600 words. Hopefully, by the end of this, you’ll have a bit more clarity on the subject.
Editor’s Note: This article, previously from our archives, is being brought to you again for several reasons. We thought it was great, but at the time, it didn’t get the attention we wanted. So we’ve given it a new title and a bit more polish. It, and all articles here at the Phoblographer are done by humans, not AI.
Can’t See Clearly? Adjust the Diopter
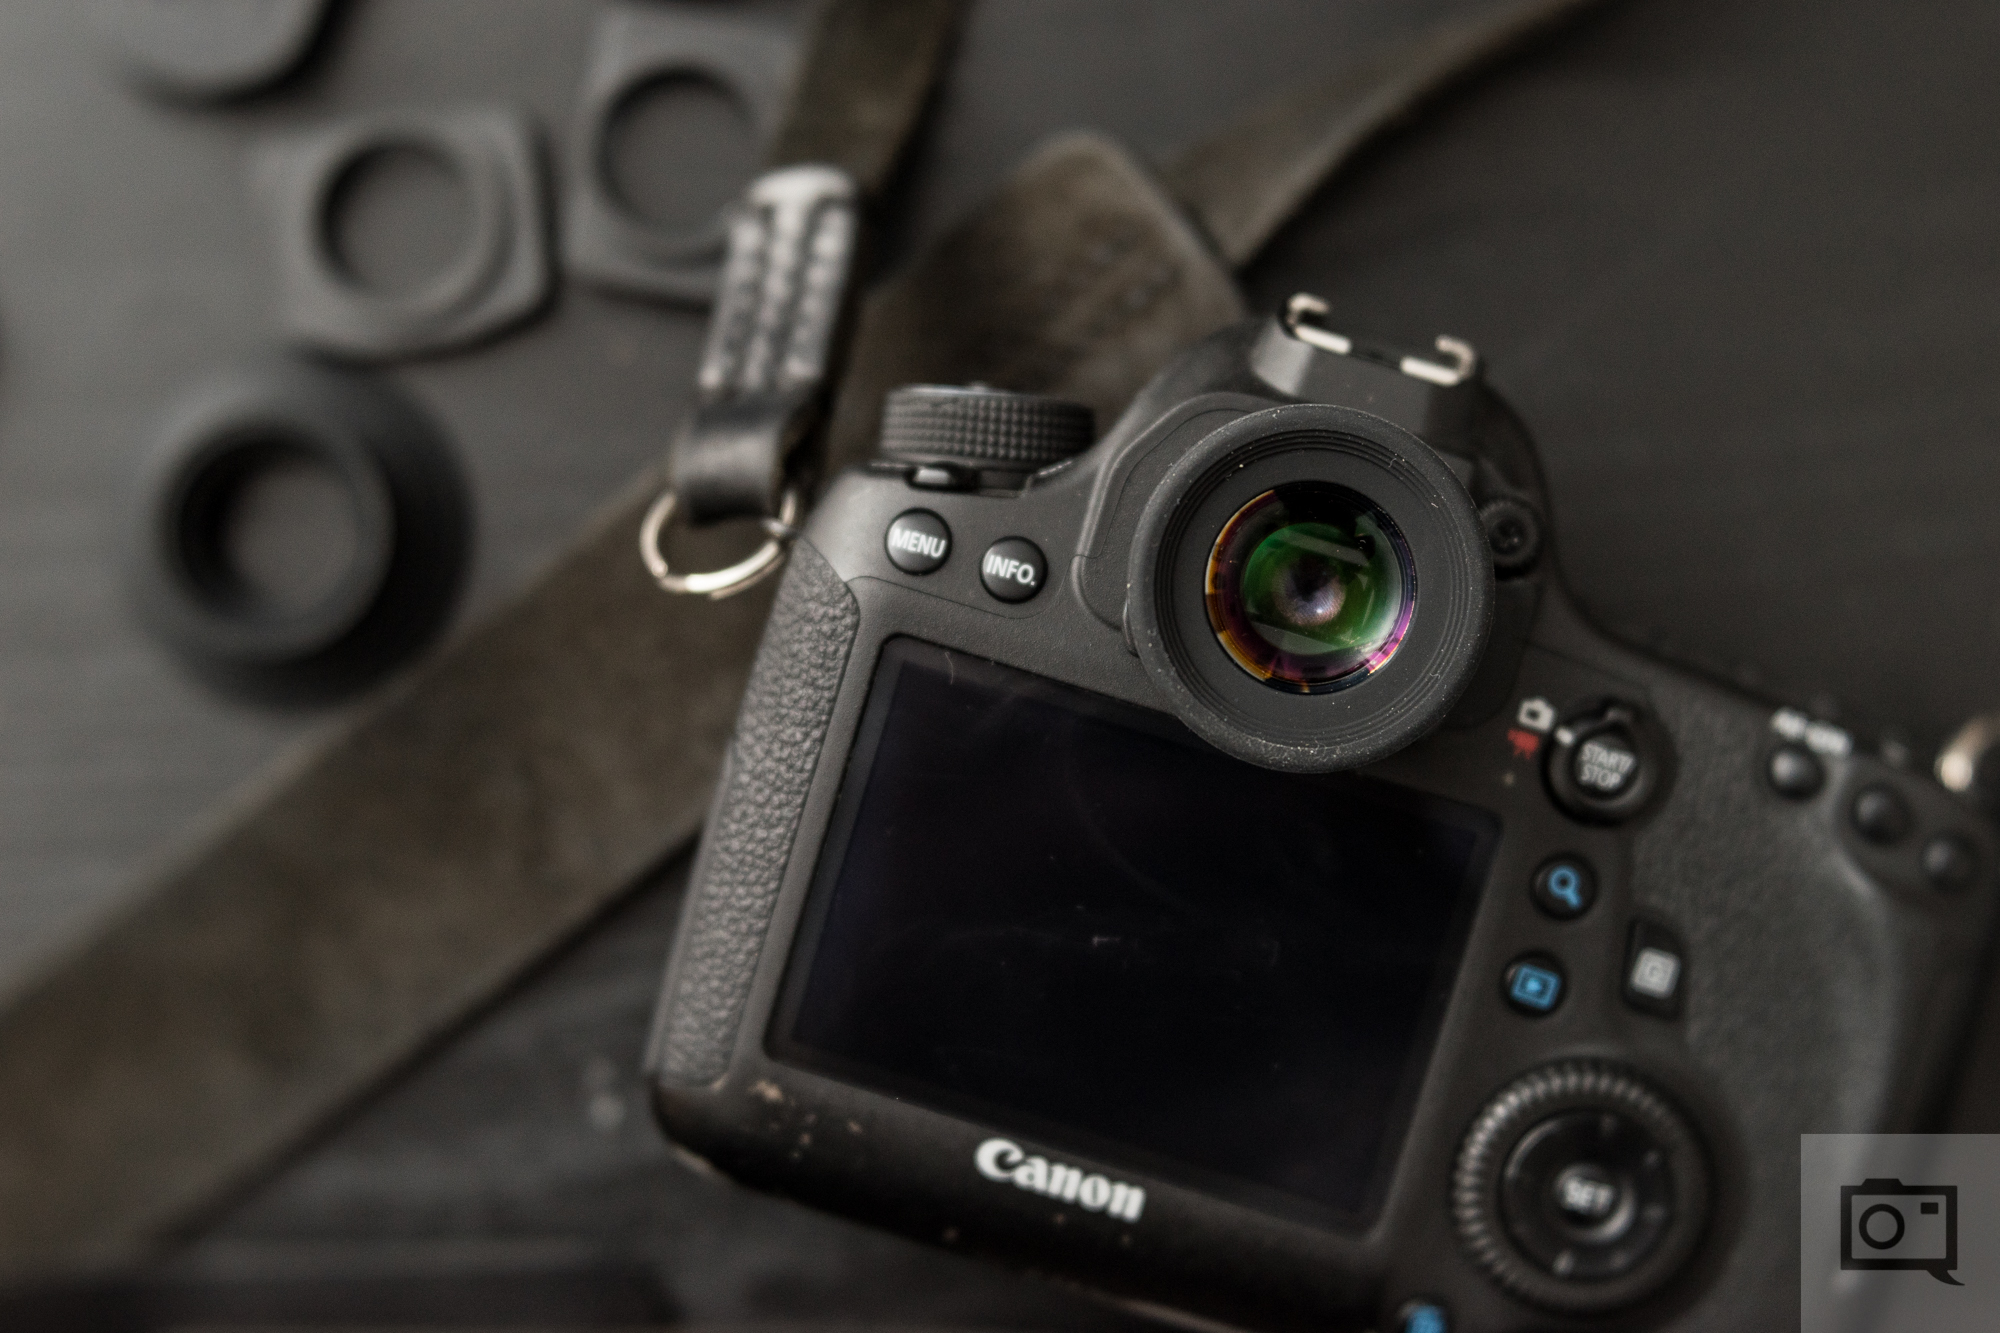
When you look into the viewfinder of your new camera, it’s not supposed to be blurry. If it seems that way, you have to adjust the diopter. Think about this as a magnifying glass. Sometimes the closer the magnifying glass is, the less effective it is. So essentially, you need to move it back and forth. You can adjust it using a little knob by the viewfinder. Turn it to the + side if you’re farsighted and can see things clearly from far away but not close up. Turn it to the – side if you need to see close up. My diopter always gets turned all the way to the negative side, and I always take photos while wearing glasses.
Also, remember, you might have one eye that’s stronger than the other.
Exposure Preview in the Exposure Control Modes

If you set your camera to M (manual), Av or A (aperture), S or TV (shutter) or P (program) then the camera will give you some control over the exposure settings. By default, cameras are set so that you can adjust the exposure parameters and see the setting effect on the scene. Different brands call this effect different things.
If the scene is dark then you need to either:
Raise your ISO (the higher the number, the higher the ISO)
Open up the aperture (the lower the number, the more open it is)
Slow down the shutter speed (this works in fractions of a second, so 1/4 of a second is slower than 1/8000th)
Likewise, if the scene is too bright, then you need to do the opposite of what’s above.
Autofocus Confirmation
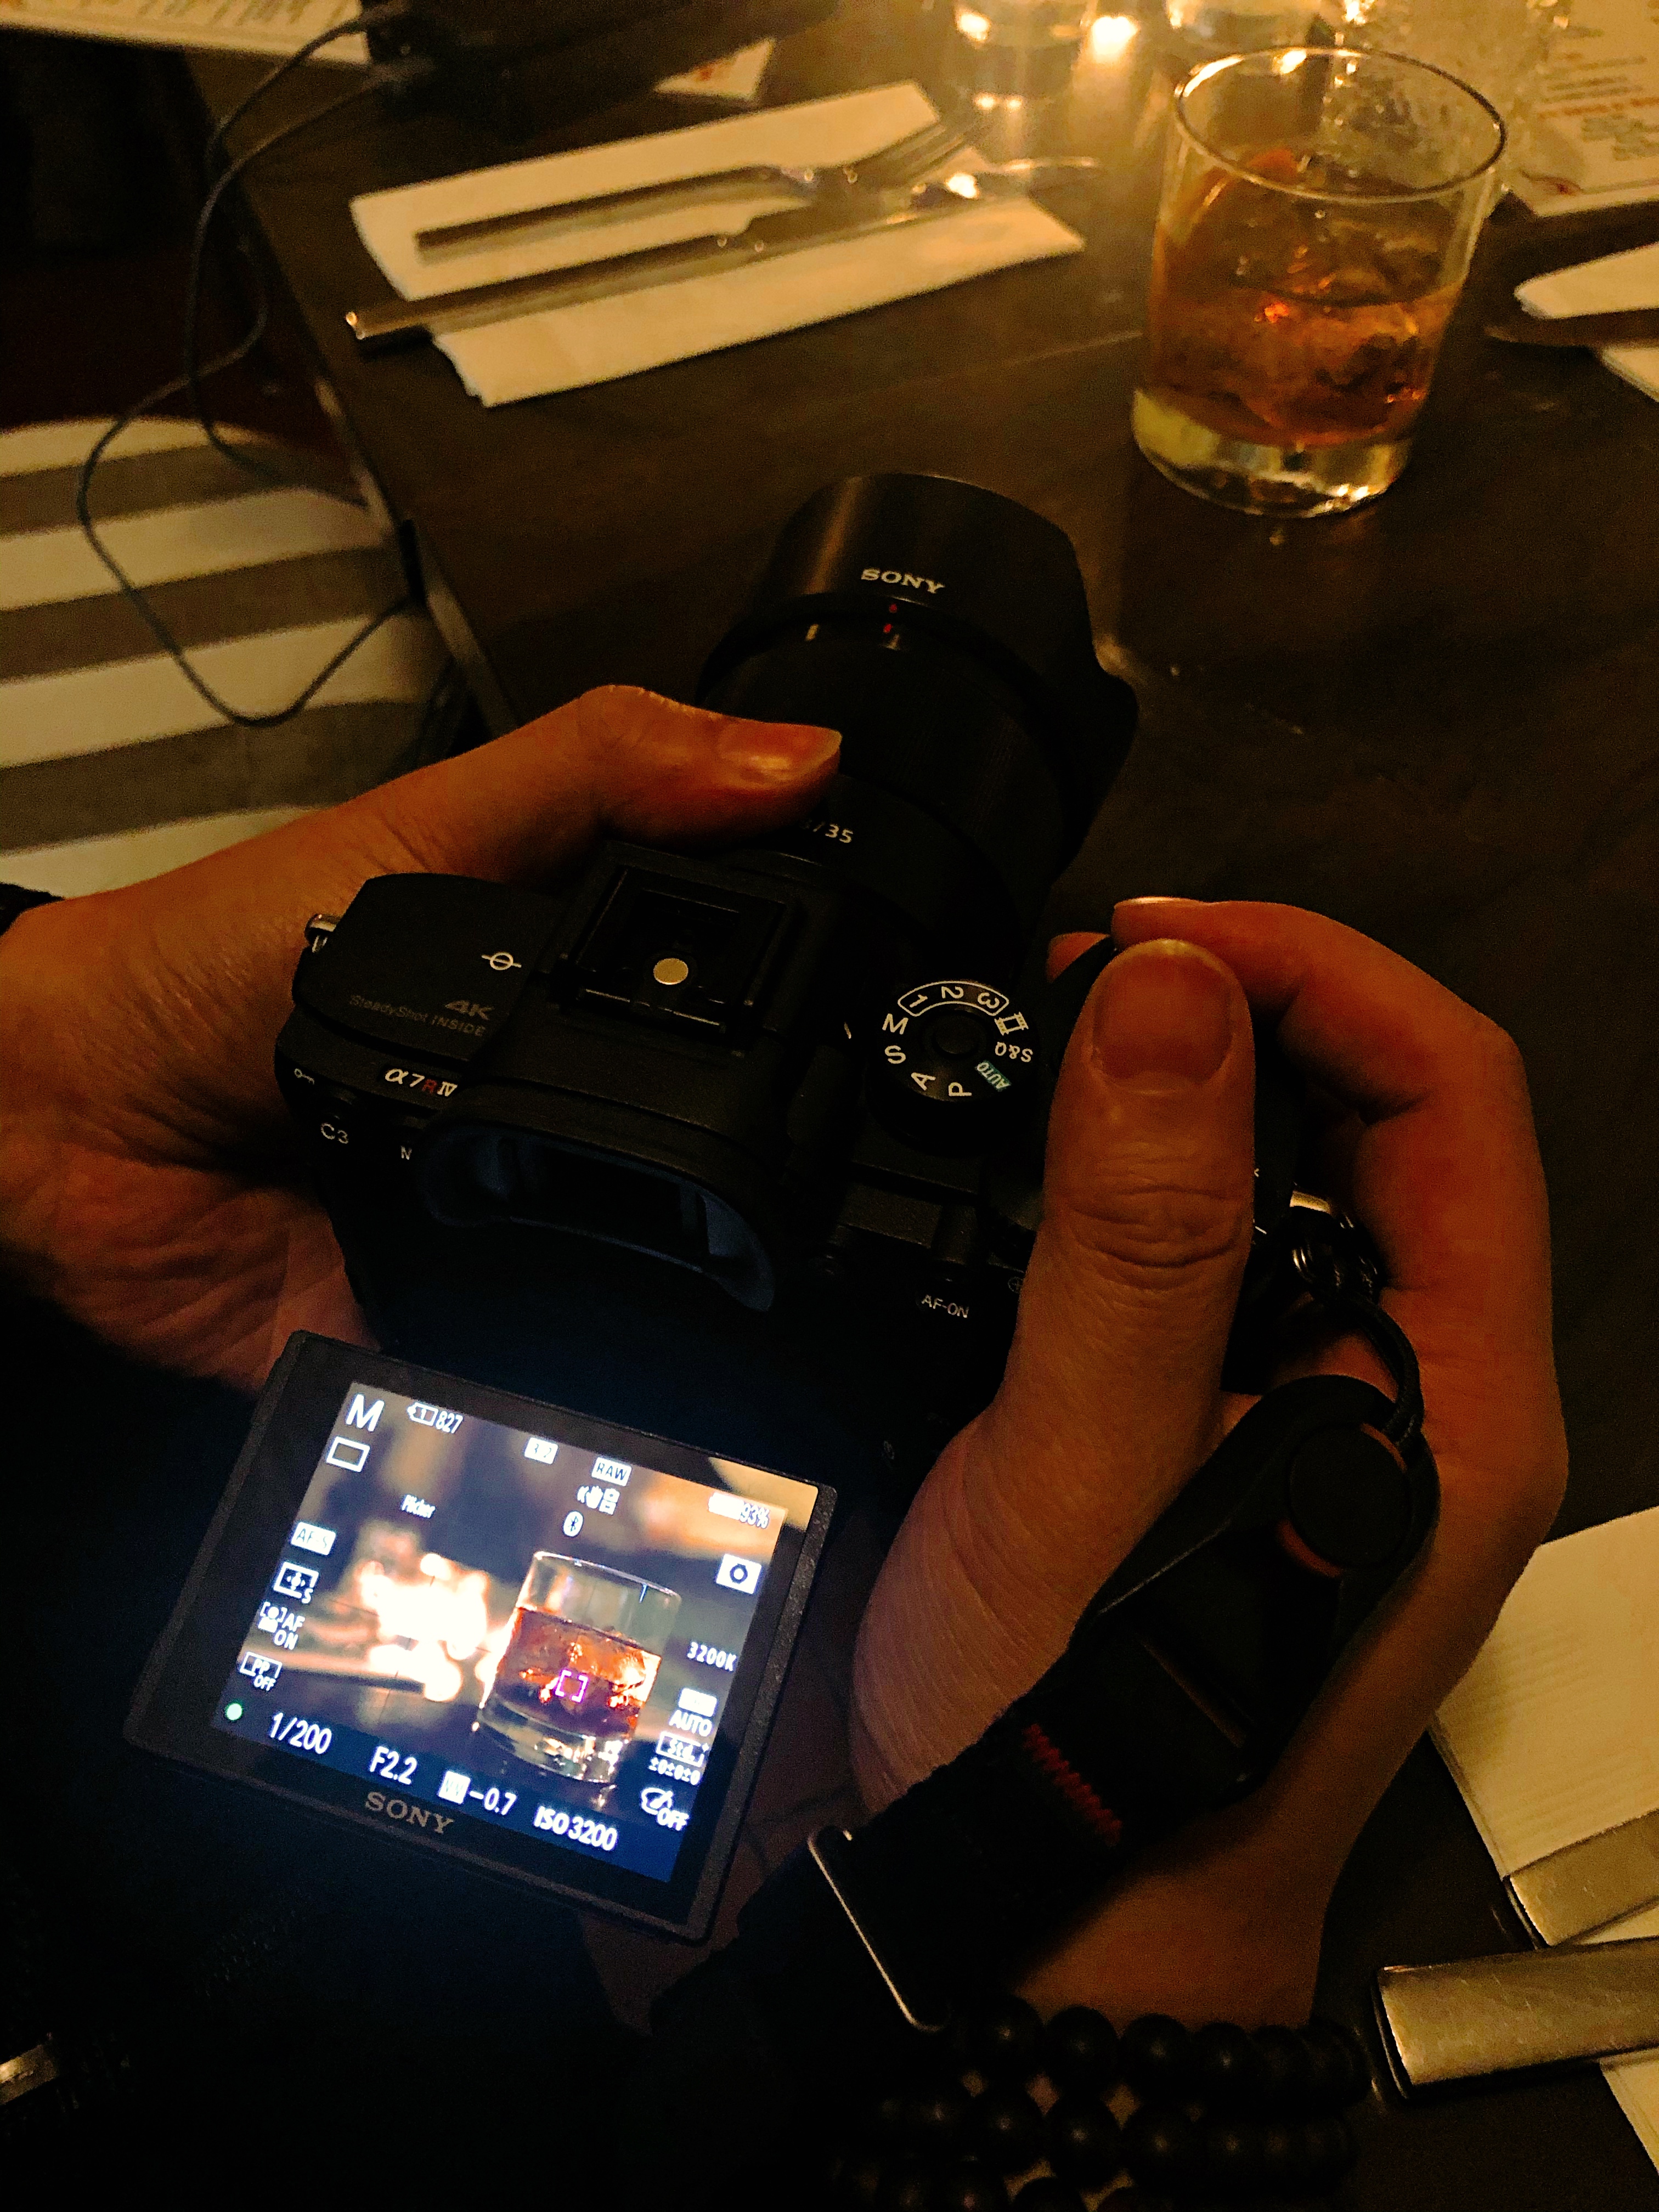
When you’re focusing the camera by pressing the autofocus button, you’ll see the camera focus on a subject. In the viewfinder, it will appear with a green box or boxes over that subject. That’s how the camera tells you the subject is in focus.
The Info/Display Buttons and the Information You’ll See
Your viewfinder can show you a lot of information. Put the viewfinder to your eye and press the info or display button until you see exactly what you want. You can also customize these in the settings, but that’s a whole other thing. Here you’ll see info like the exposure settings, autofocus, type, white balance, metering type, how much space is left on your memory card, battery life, the level, and so much more.
For beginners, this is what you need to get started with using your viewfinder. There’s more to go through, but that’s when things get more advanced. We don’t want to confuse you. And if you want better photos, the viewfinder can help cut out all distractions by making you peer into a little window and, therefore, the camera’s eye.
For more tips tailored for beginners, be sure to check out our Useful Photography Tips section.
Get rid of the ads!Did you enjoy reading this article as much as we enjoyed writing it? There’s a way to support us and our reporting, getting ad-free navigation and more as a bonus. Subscribe to us for less than a coffee per month —just $3.99— or take advantage of our yearly subscription with a hefty discount for only $25.An ad-free experienceA free mystery box for Lightroom or Capture OneAll the books in our store20% discount on Capture One30% discount on Imalume Photo Theft Protection20% off Herbs and Kettle Tea Company.20% off your order from MPIX printing services.5% off Viltrox Products via their eCommerce store.10% off all film developing, printing and scanning services from Blue Moon Camera and Machine15% off 7Artisans products: The lens and accessory maker is offering a sweet discount for Phoblographer’s readers.

Chris Gampat is the Editor in Chief, Founder, and Publisher of the Phoblographer. He provides oversight to all of the daily tasks, including editorial, administrative, and advertising work. Chris’s editorial work includes not only editing and scheduling articles but also writing them himself. He’s the author of various product guides, educational pieces, product reviews, and interviews with photographers. He’s fascinated by how photographers create, considering the fact that he’s legally blind./
HIGHLIGHTS: Chris used to work in Men’s lifestyle and tech. He’s a veteran technology writer, editor, and reviewer with more than 15 years experience. He’s also a Photographer that has had his share of bylines and viral projects like “Secret Order of the Slice.”
PAST BYLINES: Gear Patrol, PC Mag, Geek.com, Digital Photo Pro, Resource Magazine, Yahoo! News, Yahoo! Finance, IGN, PDN, and others.
EXPERIENCE:
Chris Gampat began working in tech and art journalism both in 2008. He started at PCMag, Magnum Photos, and Geek.com. He founded the Phoblographer in 2009 after working at places like PDN and Photography Bay. He left his day job as the Social Media Content Developer at B&H Photo in the early 2010s. Since then, he’s evolved as a publisher using AI ethically, coming up with ethical ways to bring in affiliate income, and preaching the word of diversity in the photo industry. His background and work has spread to non-profits like American Photographic Arts where he’s done work to get photographers various benefits. His skills are in SEO, app development, content planning, ethics management, photography, WordPress, and other things.
EDUCATION: Chris graduated Magna Cum Laude from Adelphi University with a degree in Communications in Journalism in 2009. Since then, he’s learned and adapted to various things in the fields of social media, SEO, app development, e-commerce development, HTML, etc.
FAVORITE SUBJECT TO PHOTOGRAPH: Chris enjoys creating conceptual work that makes people stare at his photos. But he doesn’t get to do much of this because of the high demand of photography content. / BEST PHOTOGRAPHY TIP: Don’t do it in post-production when you can do it in-camera.
Previous Post
How Lens Filters Can Make Your Photography Less Boring
Next Post