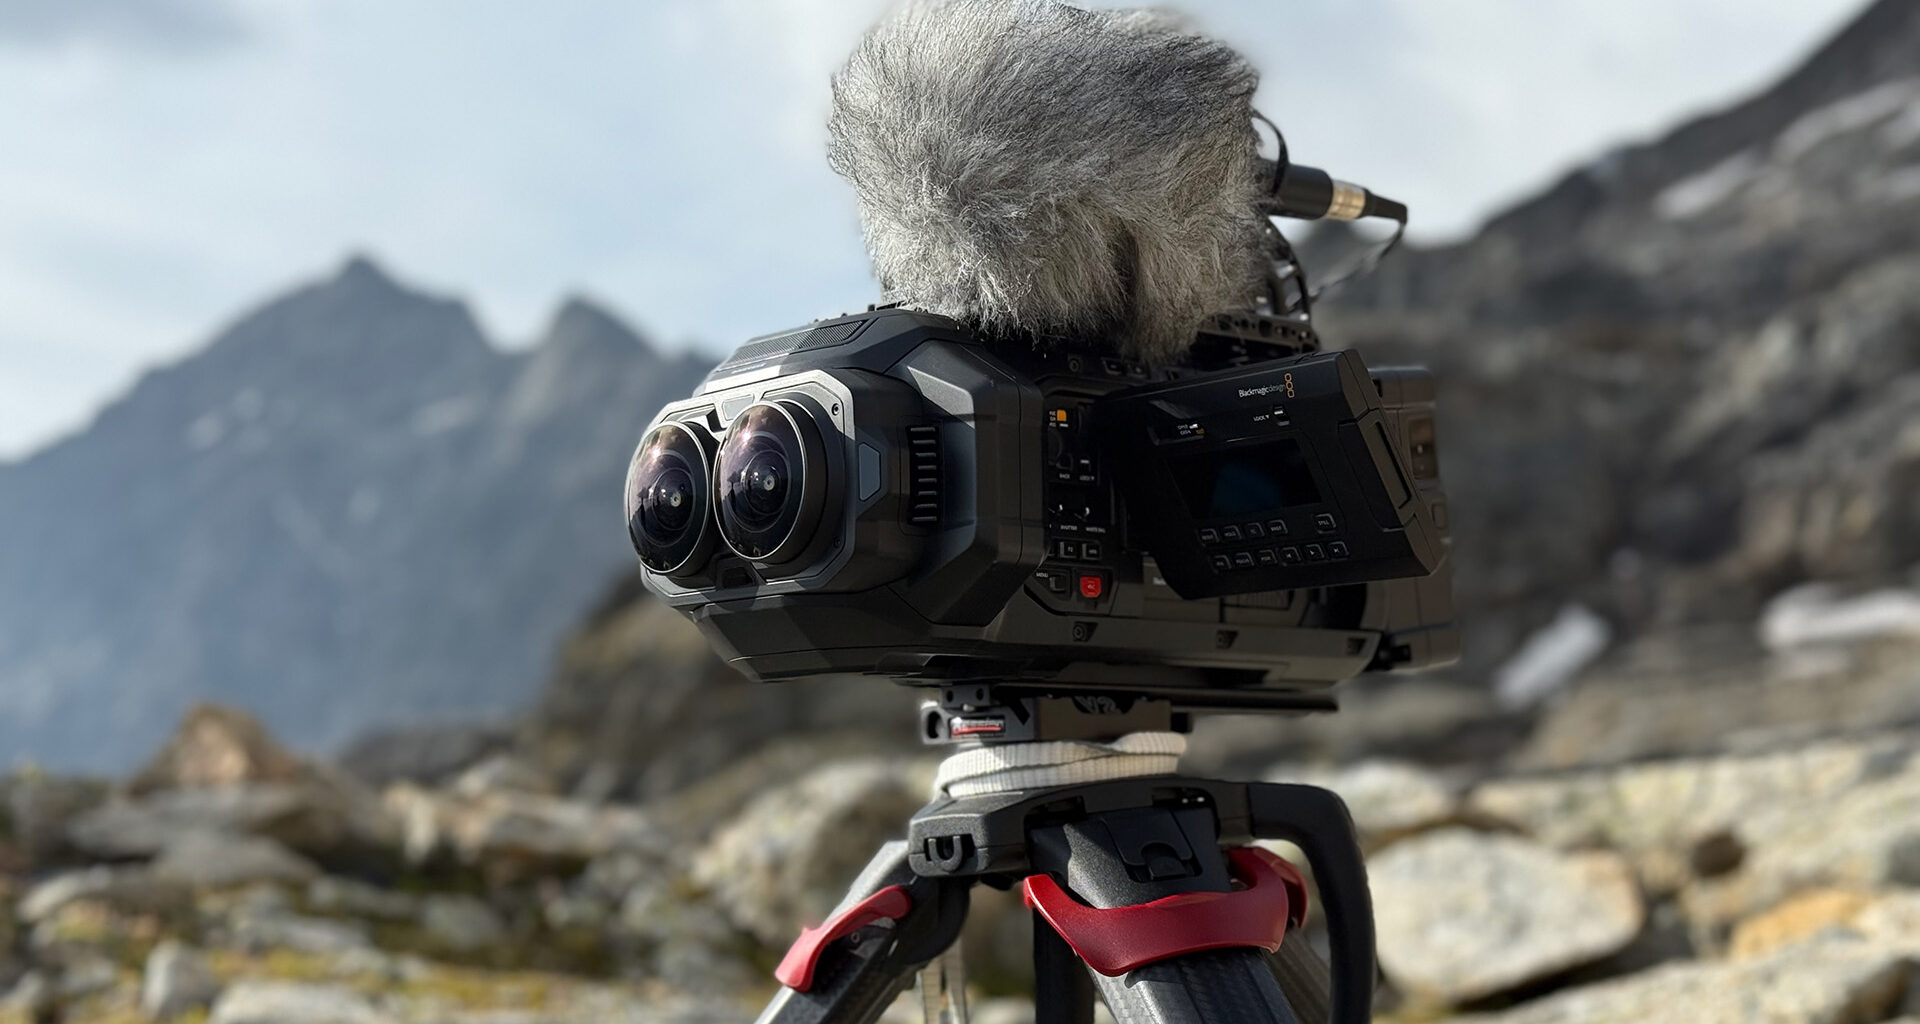
Our friends Leon and Natalie Barnard took the Blackmagic URSA Cine Immersive camera to the Swiss Alps to shoot an adventure documentary, hiking 1,000 meters of elevation on foot while capturing stunning immersive footage including a helicopter flight sequence. Here is what they learned about producing Apple Immersive Video content on a modest budget with a small crew.
Most filmmakers would be able to pick up a brand new camera, head out, and shoot a compelling video without breaking a sweat. But the Blackmagic URSA Cine Immersive camera and the Apple Immersive Video format are a little different. While a lot of your existing experience will transfer, you can’t treat the camera or format like it’s traditional 2D. Shooting Immersive requires an understanding of the format, where existing 2D cinematic precedence applies and where it doesn’t. There might be new skills you need to learn, and equipment that you might not be familiar with.
But it doesn’t need to be difficult. By learning from the experiences of others who have already pioneered the way in Immersive production, you can avoid many first-time mistakes. And beyond relatively minor one-off expenses like additional equipment, Immersive production can cost a similar amount to a comparable 2D production.
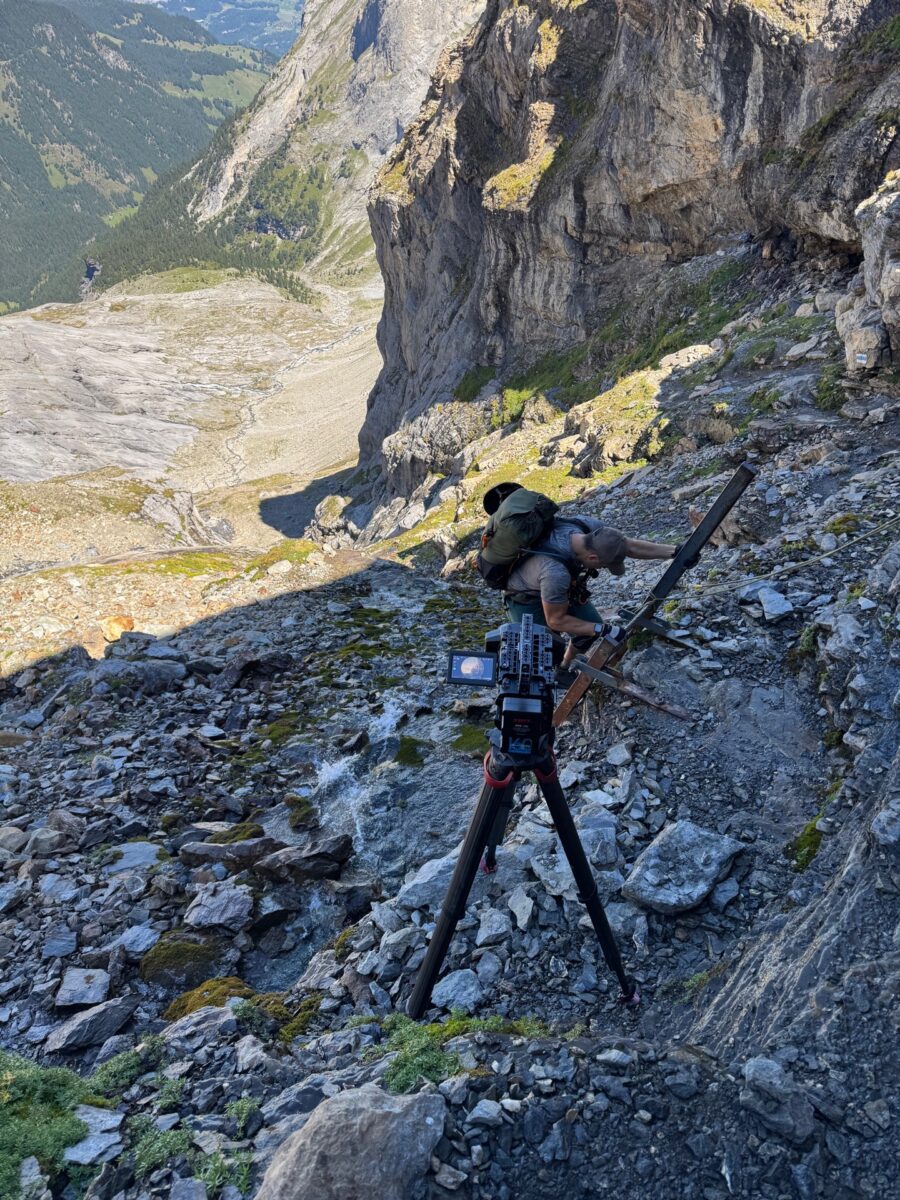
To find our feet with this new format, we took the URSA Cine Immersive to the Swiss Alps to shoot an adventure documentary. The stakes are low, this video is just for us, but it’s going to provide invaluable experience that we can harness on paid commercial jobs. Plus, we’re documenting our experience so you can learn too! There will be separate videos covering Production, Edit, Colour, Audio, and Fusion. We aim to show how you too can tell stunning Immersive stories on a modest budget and how a small crew can manage this camera and the equipment required to support it.
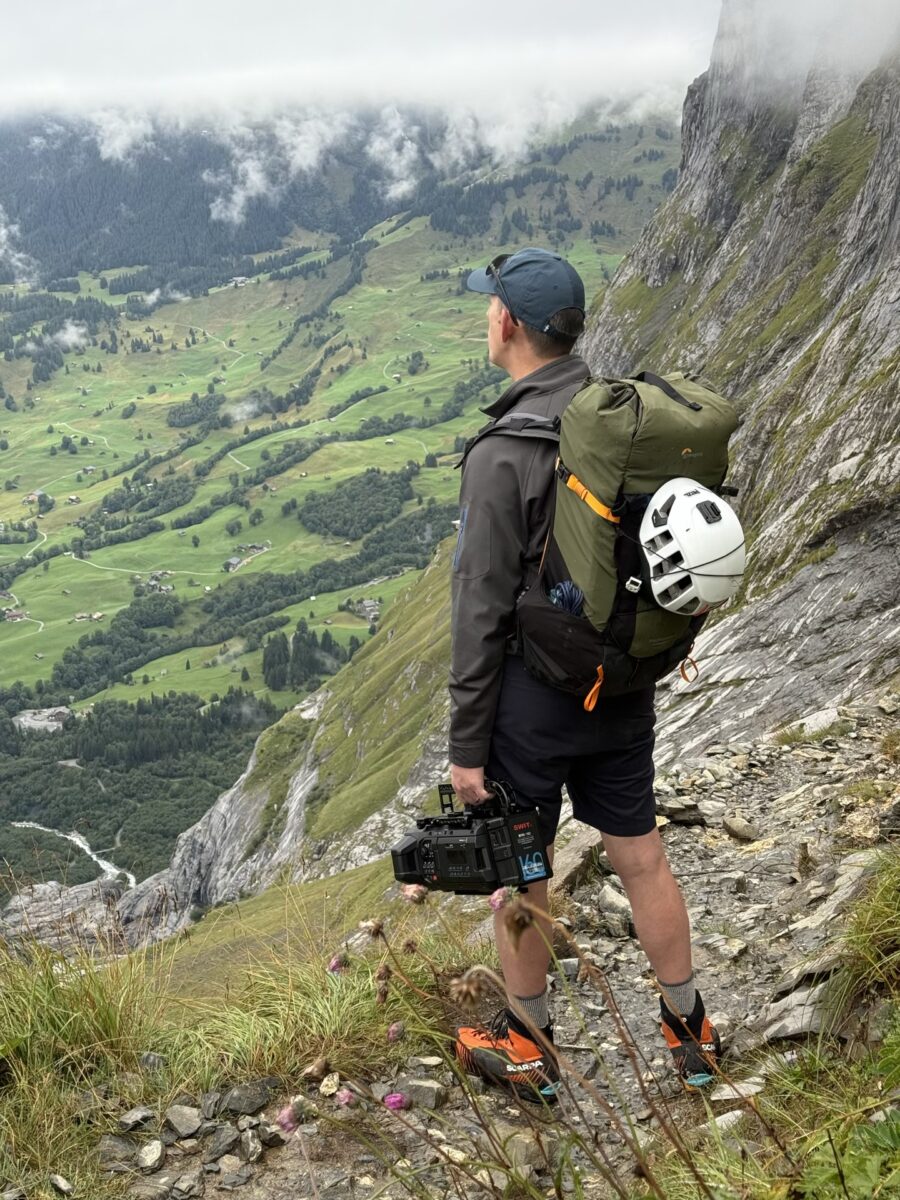
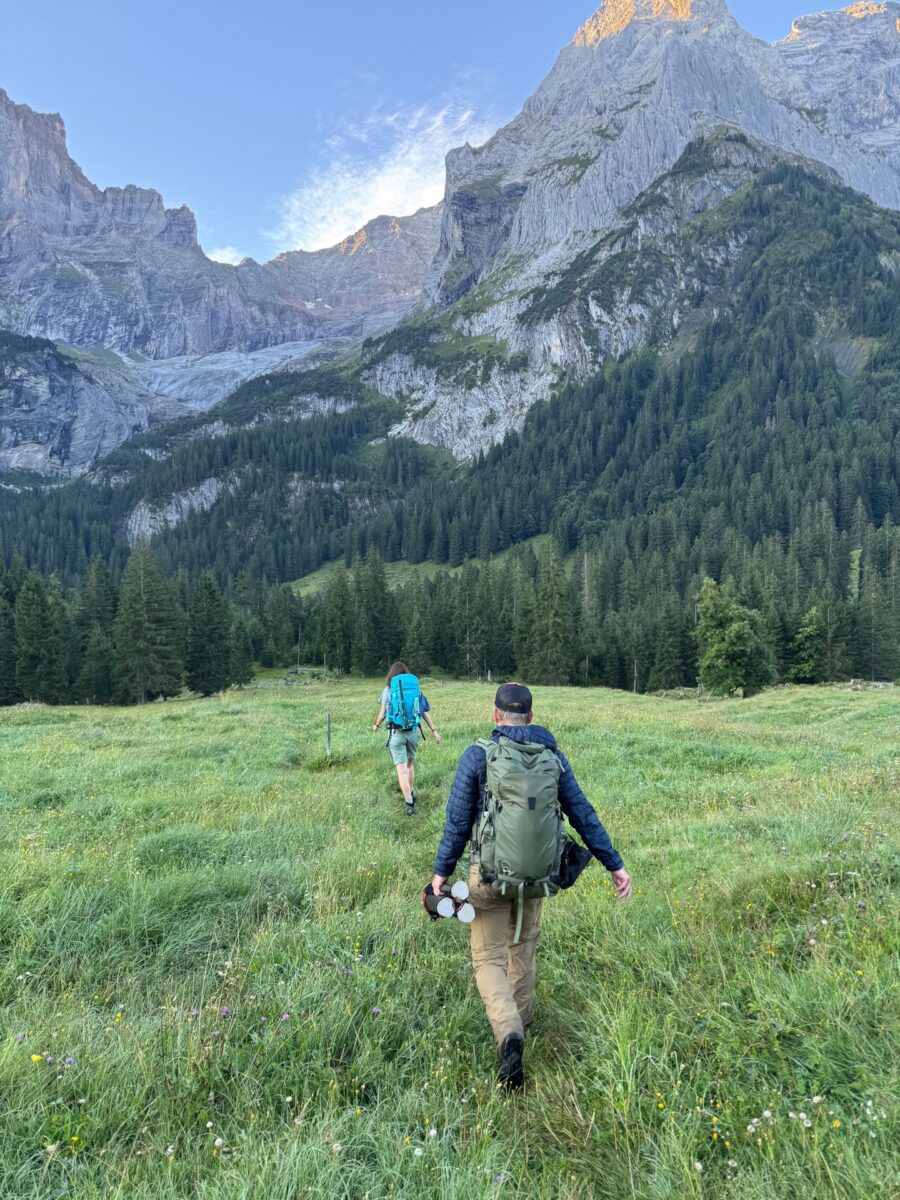 We’re travelling by foot and climbing 1000m of elevation in a single day! We need to be careful with what we take. Image credit: Team2FilmsEquipment
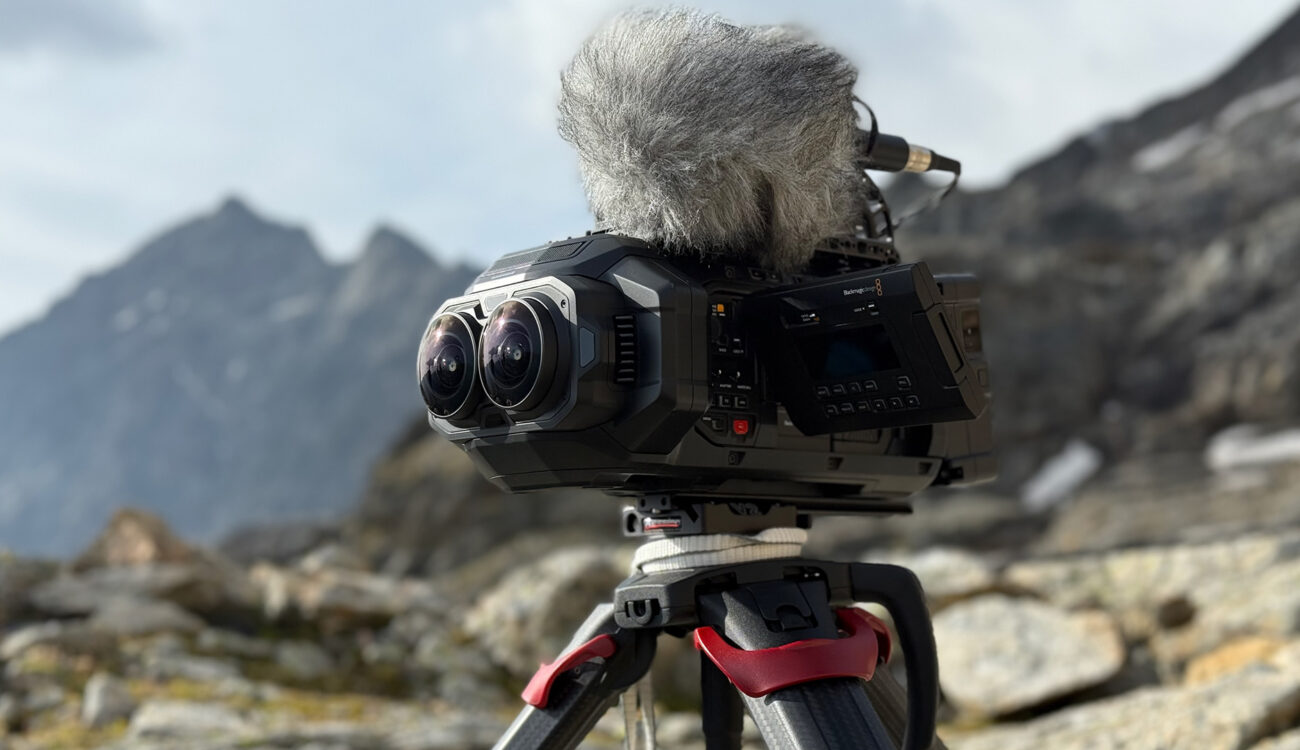
Stability is important when shooting Immersive as handheld footage could make the audience feel nauseous. We’re using Sachtler’s excellent Flowtech 100 tripod with the Cine 20 head. And when we need to be extra light, we’re using a simple half-bowl adapter with a quick release plate instead of the full fluid head.
 The Sachtler Flowtech 100 manages the camera’s weight with ease, even on unstable ground. Image credit: Team2Films
Audio is a critical part of the immersive experience. We’re using a Sennheiser Ambeo and Zoom F6 to record ambisonic audio and are mounting that equipment to the camera using rigging from Mid49.
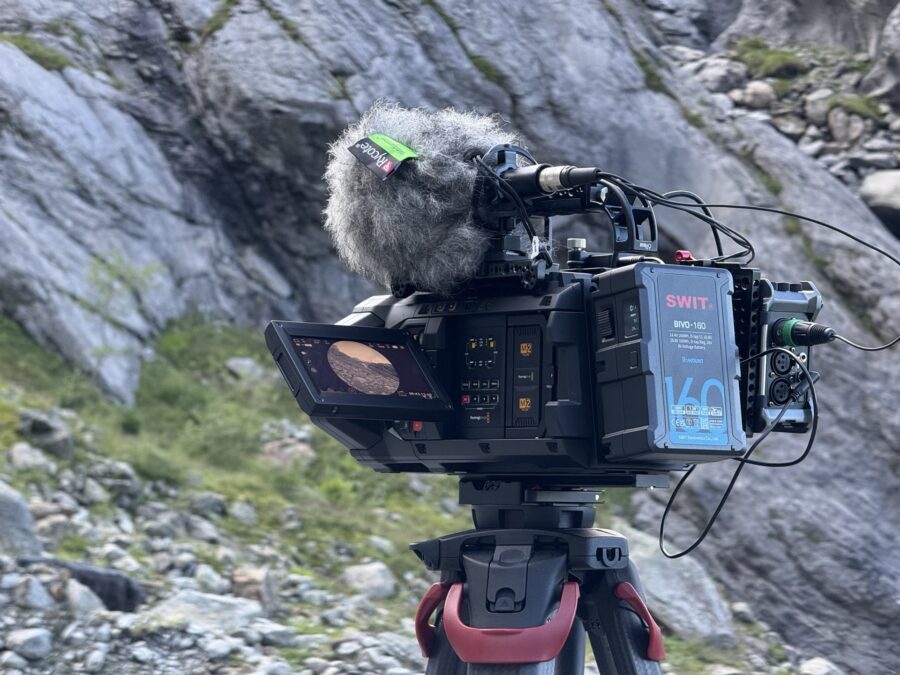 SWIT batteries and a Zoom F6 and Sennheiser Ambeo for ambisonic audio. Image credit: Team2Films
SWIT BIVO 160 kilowatt-hour batteries are providing power. They meet the requirements for airline carry-on. To charge the batteries in the field, we are using a bi-directional USB-C to D-TAP adapter from Kondor Blue. It allows us to charge our B-Mounts from a conventional USB-C power supply, but also to use those same batteries to power other equipment like laptops.
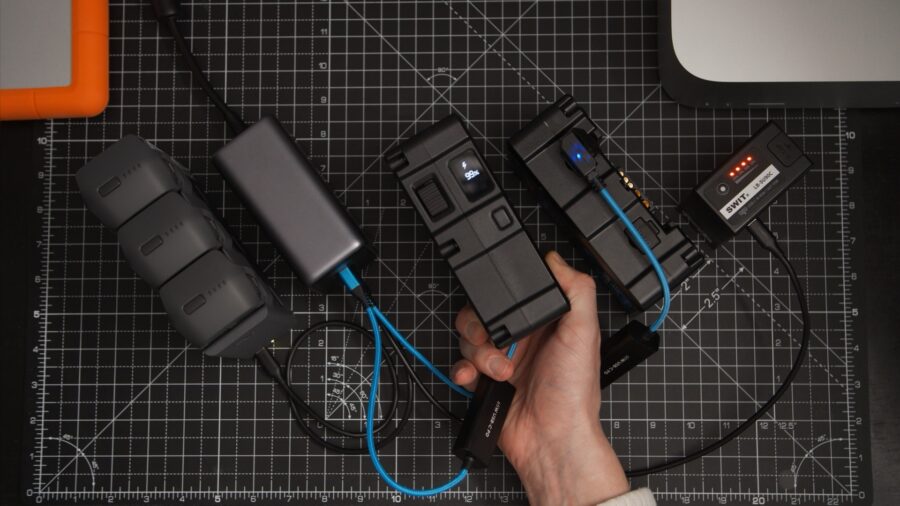 Using a USB-C to D-TAP adapter, it’s possible to charge all of our batteries (camera or otherwise) using a 300W USB-C power supply. Image credit: Team2Films
Finally, to carry our equipment, we are using LowePro’s PhotoSport X 45L backpacks combined with their camera box system. It’s really helpful to be able to pull the entire box (with equipment) from the backpack. CRDBags are helping us to stay organised too.
 Our equipment …
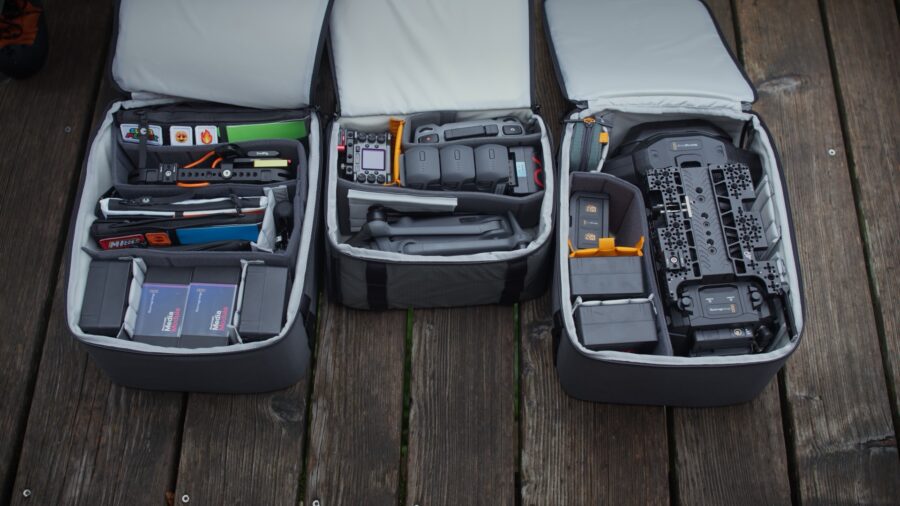 … was spread across three people. LowePro Camera Boxes made organisation easy. Image credits: Team2FilmsHelicopter Flight
A highlight of our shoot was taking a helicopter flight. With nothing more than the camera on a tripod, we were able to shoot the helicopter’s arrival, departure, and the flight itself. Inside the helicopter, we positioned the camera facing forward with a view of the pilot and passenger. The footage is stunning; we love being able to see the view ahead and also the pilot’s hand and feet as he controls the helicopter. It’s difficult to explain how real the experience feels inside the Vision Pro. We’ll be releasing the Immersive video later this year so you can see for yourself.
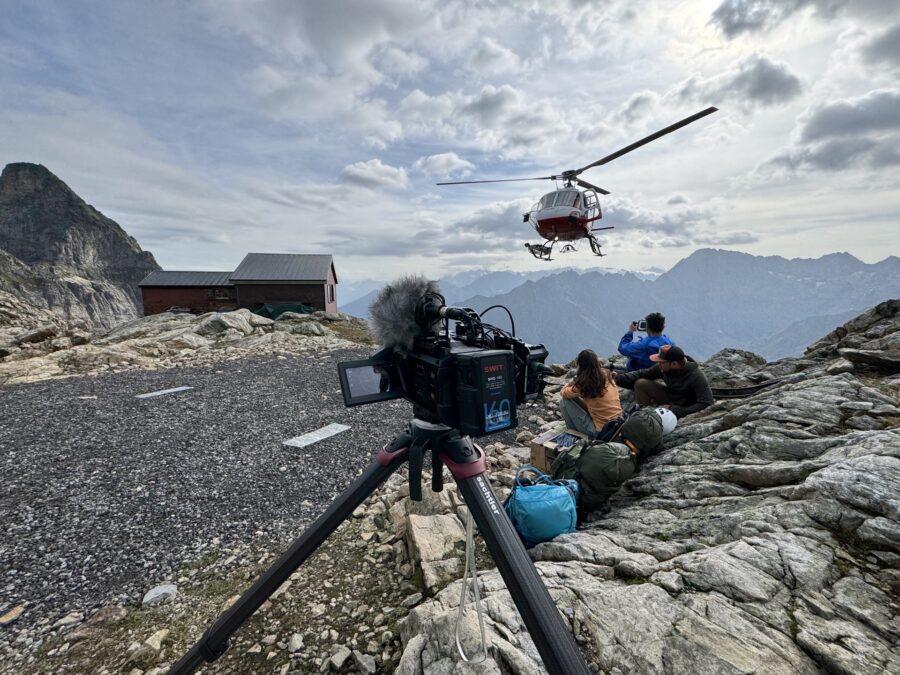 Filming the helicopter’s approach. Image credit: Team2Films
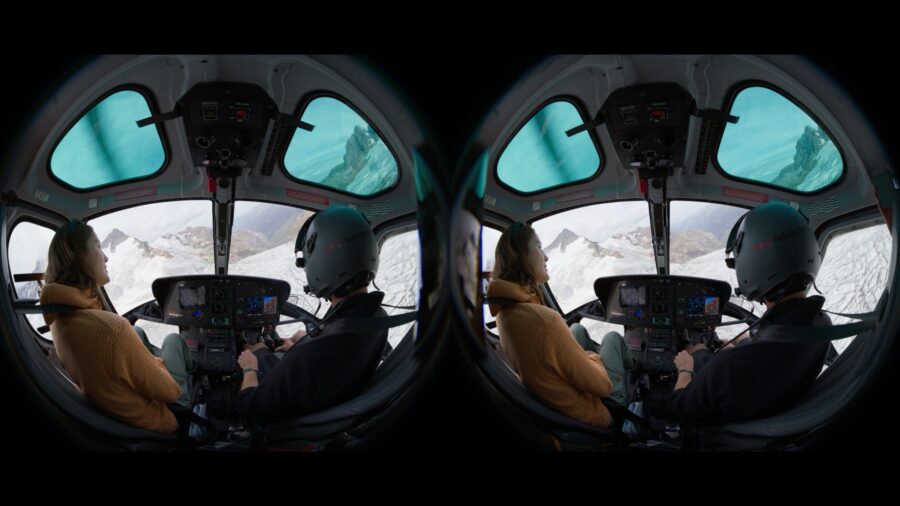 This interior shot was set up with nothing more than a tripod. It feels like you are there in the helicopter! Image credit: Team2Films
 The helicopter interior was cramped! Image credit: Team2FilmsLessons Learned for shooting Apple Immersive Video with the Blackmagic URSA Cine Immersive
The whole purpose of this shoot was to learn how to use this incredible new format. We made many mistakes along the way, but as mentioned, we’ve documented them so you can learn from them too. For a full breakdown of our experience, please go watch the video on top.
Have you started experimenting with immersive video production, or are you waiting for the format to mature further before diving in? What aspects of Apple Immersive Video workflow would you most like us to cover in upcoming tutorials? Don’t hesitate to let us know in the comments below!