Getting through the day on a single charge is every phone user’s goal. I want that too, but not if it means sacrificing performance or essential features. The phone’s screen is often the biggest battery consumer, so by making some tweaks to the screen settings, I managed to achieve a huge battery life improvement.
Manually Control Brightness Level
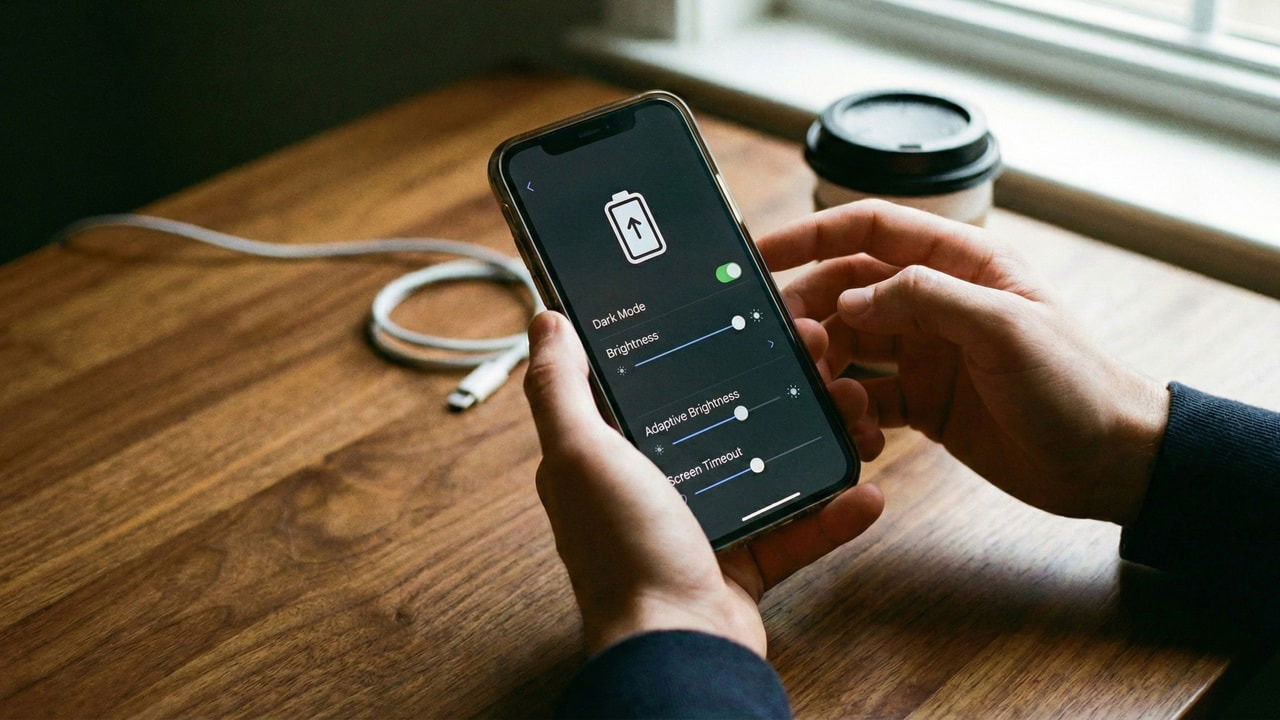
Most phones come with auto-brightness feature, and most experts advise you to keep it enabled at all times. On the contrary, we advise you to turn it off, and manually control the screen’s brightness level instead. While adaptive brightness is great for ease of use, it isn’t the best for battery saving. Even with machine learning, it still favors visibility for the average user. This means it often stays at 60% brightness and cranks up to 100% in sunlight.
Many users can comfortably use the phone at 30-40% brightness, and 80% at maximum. If you manually control the brightness level, you can set the exact brightness that your eyes find comfortable. In phone Settings, go to Display and turn off the Automatic brightness option. You can then manually control brightness by swiping down and using the slider in the Quick Settings.

Yes, manual control requires extra steps, but I personally never had trouble with it. Now I adjust brightness instinctively as soon as I notice slight discomfort while viewing the screen.
Set Lower Refresh Rate
Refresh rate is the total number of times your screen updates per second to show the image. Most Android phones today come with a 120Hz display, but it isn’t necessary for many tasks. Most games today don’t even support 120Hz (only some competitive games), and 60 FPS is the maximum for videos. 120Hz refresh rate is mainly noticeable when fast scrolling, which isn’t necessary for daily use.
You can greatly decrease the display load by switching from 120Hz to a fixed 60Hz refresh rate. In Settings, go to Display → Refresh rate and set it to 60Hz under Custom. You can manually set it to 120Hz if you need to play a specific game that supports 120Hz.

Note: if you have a flagship phone with an LTPO display panel, then keep the adaptive refresh rate feature enabled. It’s more efficient at saving battery as it can physically drop refresh rate to as low as 1Hz.
Automatically Switch to Dark Mode (For OLED/AMOLED)
Dark mode can help save battery on Android phones with OLED/AMOLED displays. Since each pixel has its own light in these display panels, in dark mode, black pixels can completely shut off to consume no power at all.
Like many other people, I am not a big fan of dark mode during the day due to lower visibility. Therefore, I schedule dark mode to only enable at night, saving battery and being easy on the eyes. You can also do this by going to Settings → Display → Dark mode options. Enable Switch to dark mode automatically option and set a custom timer.

Manage Always On Display Function
Depending on your usage, the Always-on display function can both help save battery or drain it unnecessarily. Its main purpose is to show critical information at a glance without needing to wake up the full screen. This can save battery if you often wake up your phone to view the time and notifications. However, if you don’t interact with it too often, then it consumes battery for no reason.
I keep it disabled as I don’t depend on my phone for tracking time, and I often view phone notifications on my PC while working. If you are like me, you can disable this function by going to Personalisation → Always-on display and disabling the toggle.

Use a Lower Screen Resolution
While it’s related to display, lowering the screen resolution can actually help improve battery life by lowering the load on the GPU. This is especially noticeable if you play games on your phone often. You can do this either in phone settings or in the developer options. Here are the steps to manage screen resolution on Android.
After following these tweaks, you should notice a clear boost in battery life with minimal impact on daily use. If you still hit low battery by day’s end, check if a specific app is draining the battery or try these advanced battery saving tips.