Watch video: Hit the streets
Whether you live in a big city or you’re taking a day trip to see some sights, urban environments are full of photographic potential. There’s so much to point your Canon EOS mirrorless or DSLR camera at, it can be difficult to know where to even begin! From the hustle and bustle of busy city streets to amazing architecture, a vibrant urban snapshot is never far from reach. That’s why this month I headed to the UK’s capital city of London, and in this project I run through six fun and exciting ways you can get started with street photography.
When it comes to what equipment you need to take a decent street shot, an entry-level DSLR or mirrorless camera will be ideal, with either a kit lens such as an 18-55mm f/3.5-5.6 kit lens for APS-C, or something like a 24-70mm or 24-105mm on a full-frame body. Even premium compacts can work well and help you keep a low profile, this is especially useful when taking reportage style shots of people going about their day.
You may like
Personally, I like a 35mm lens with at least an f/2 wide aperture setting for full-frame, though a 24mm on an APS-C body will also get the job done. I find a 35mm focal length offers the perfect balance between being a wide-angle without loads of barrel distortion that you would get with an ultra-wide angle lens and they’re affordable too. That said you will need a lens with a zoomable focal length to try out this eye catching zoom blur effect below! So, let’s hit the streets and take some top city shots…
1. Look out for nature’s frames
(Image credit: Future)
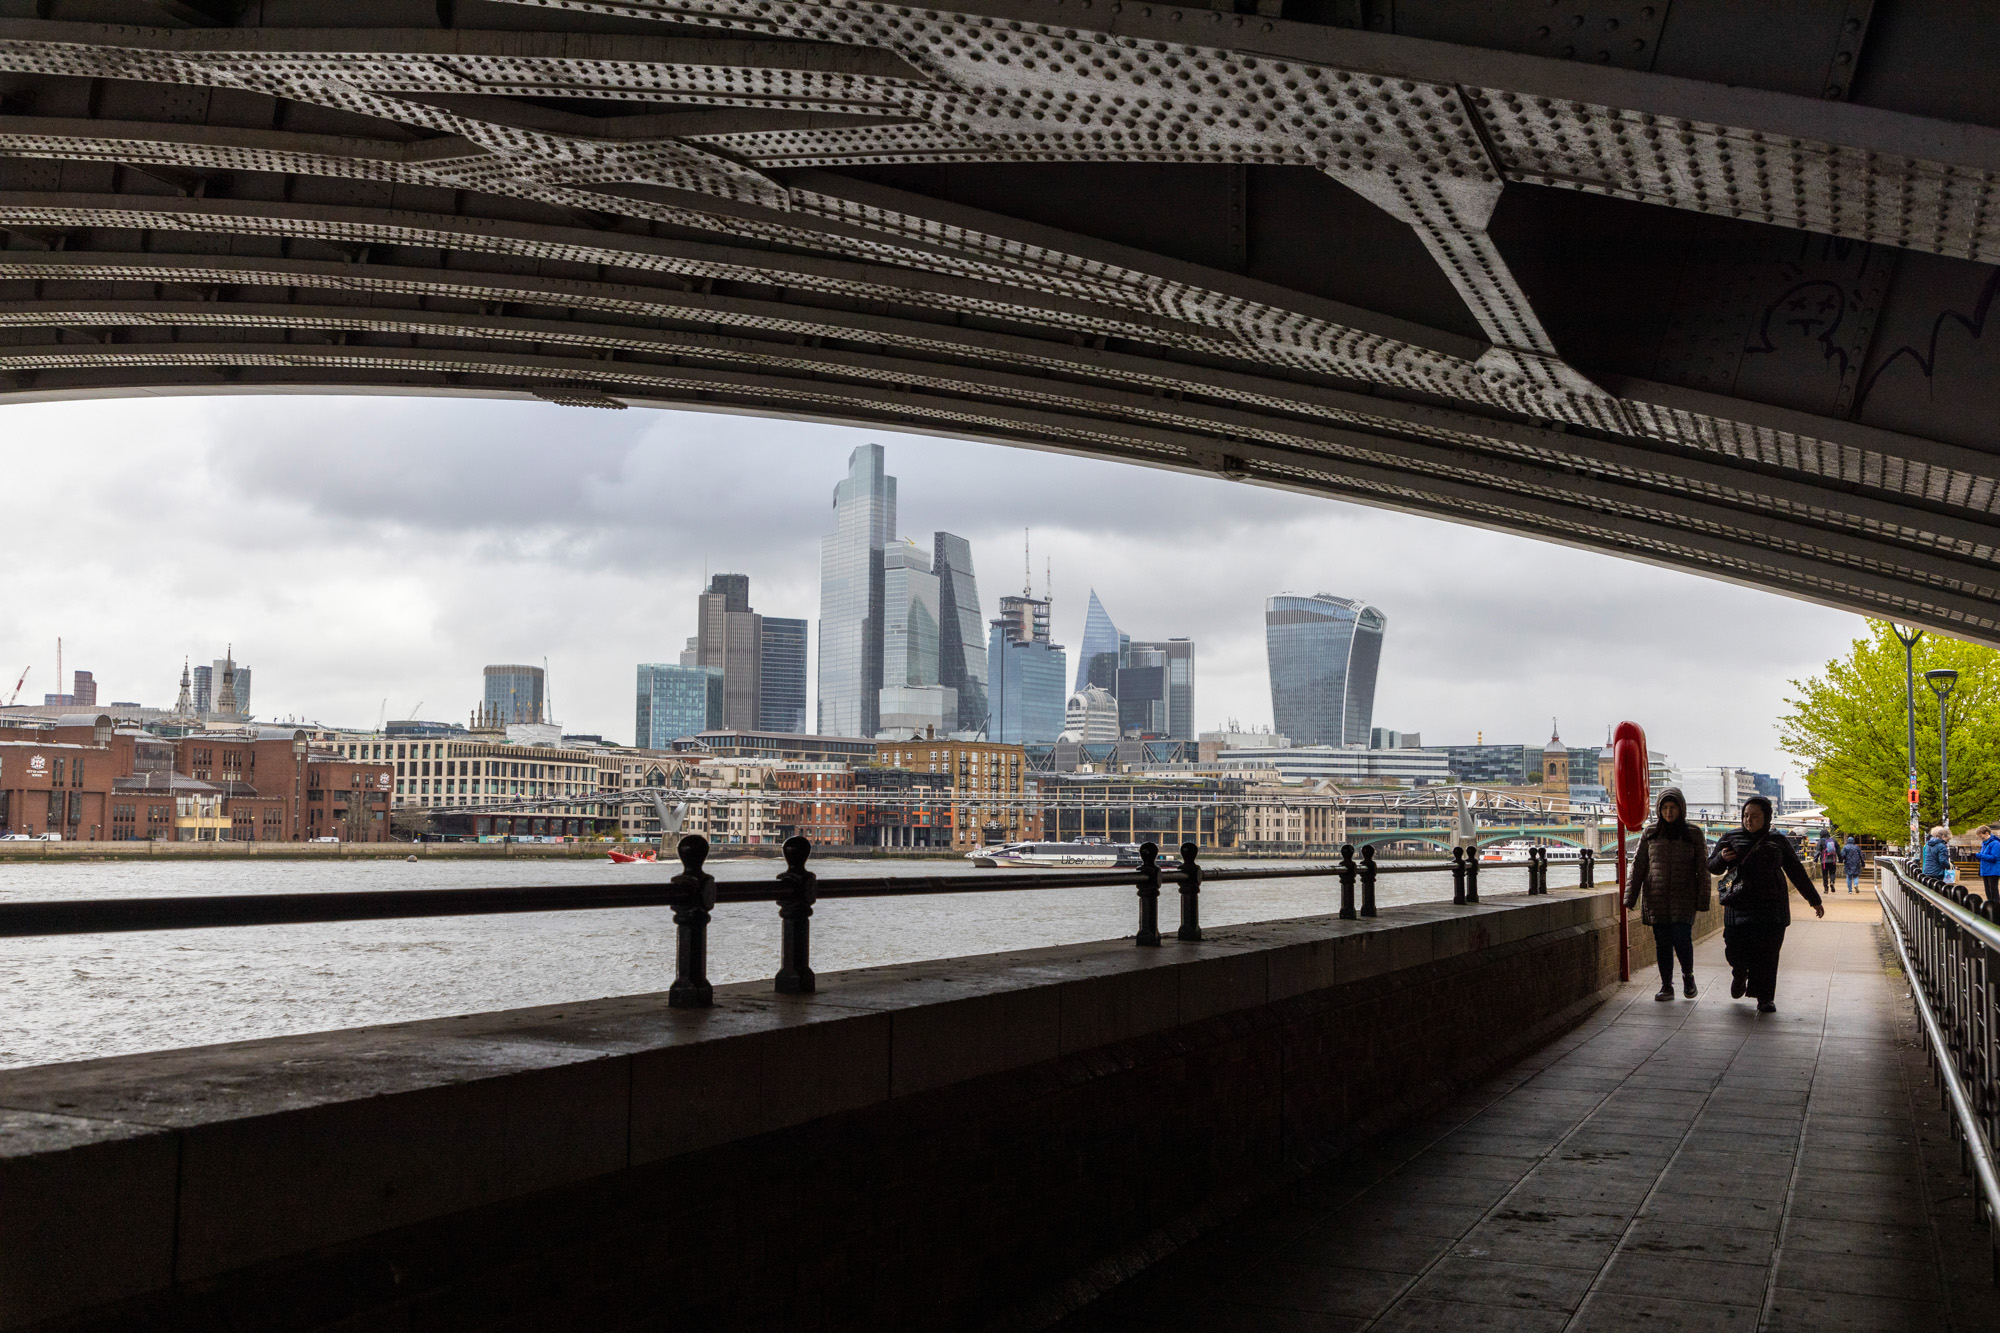
It can be tricky to compose your shots in the wide open spaces of city centres. Be on the look out for ‘natural’ framing devices in your cityscapes, such as the bridge above, which helps frame the skyscrapers and guide the viewer’s eye towards them.
(Image credit: Future)
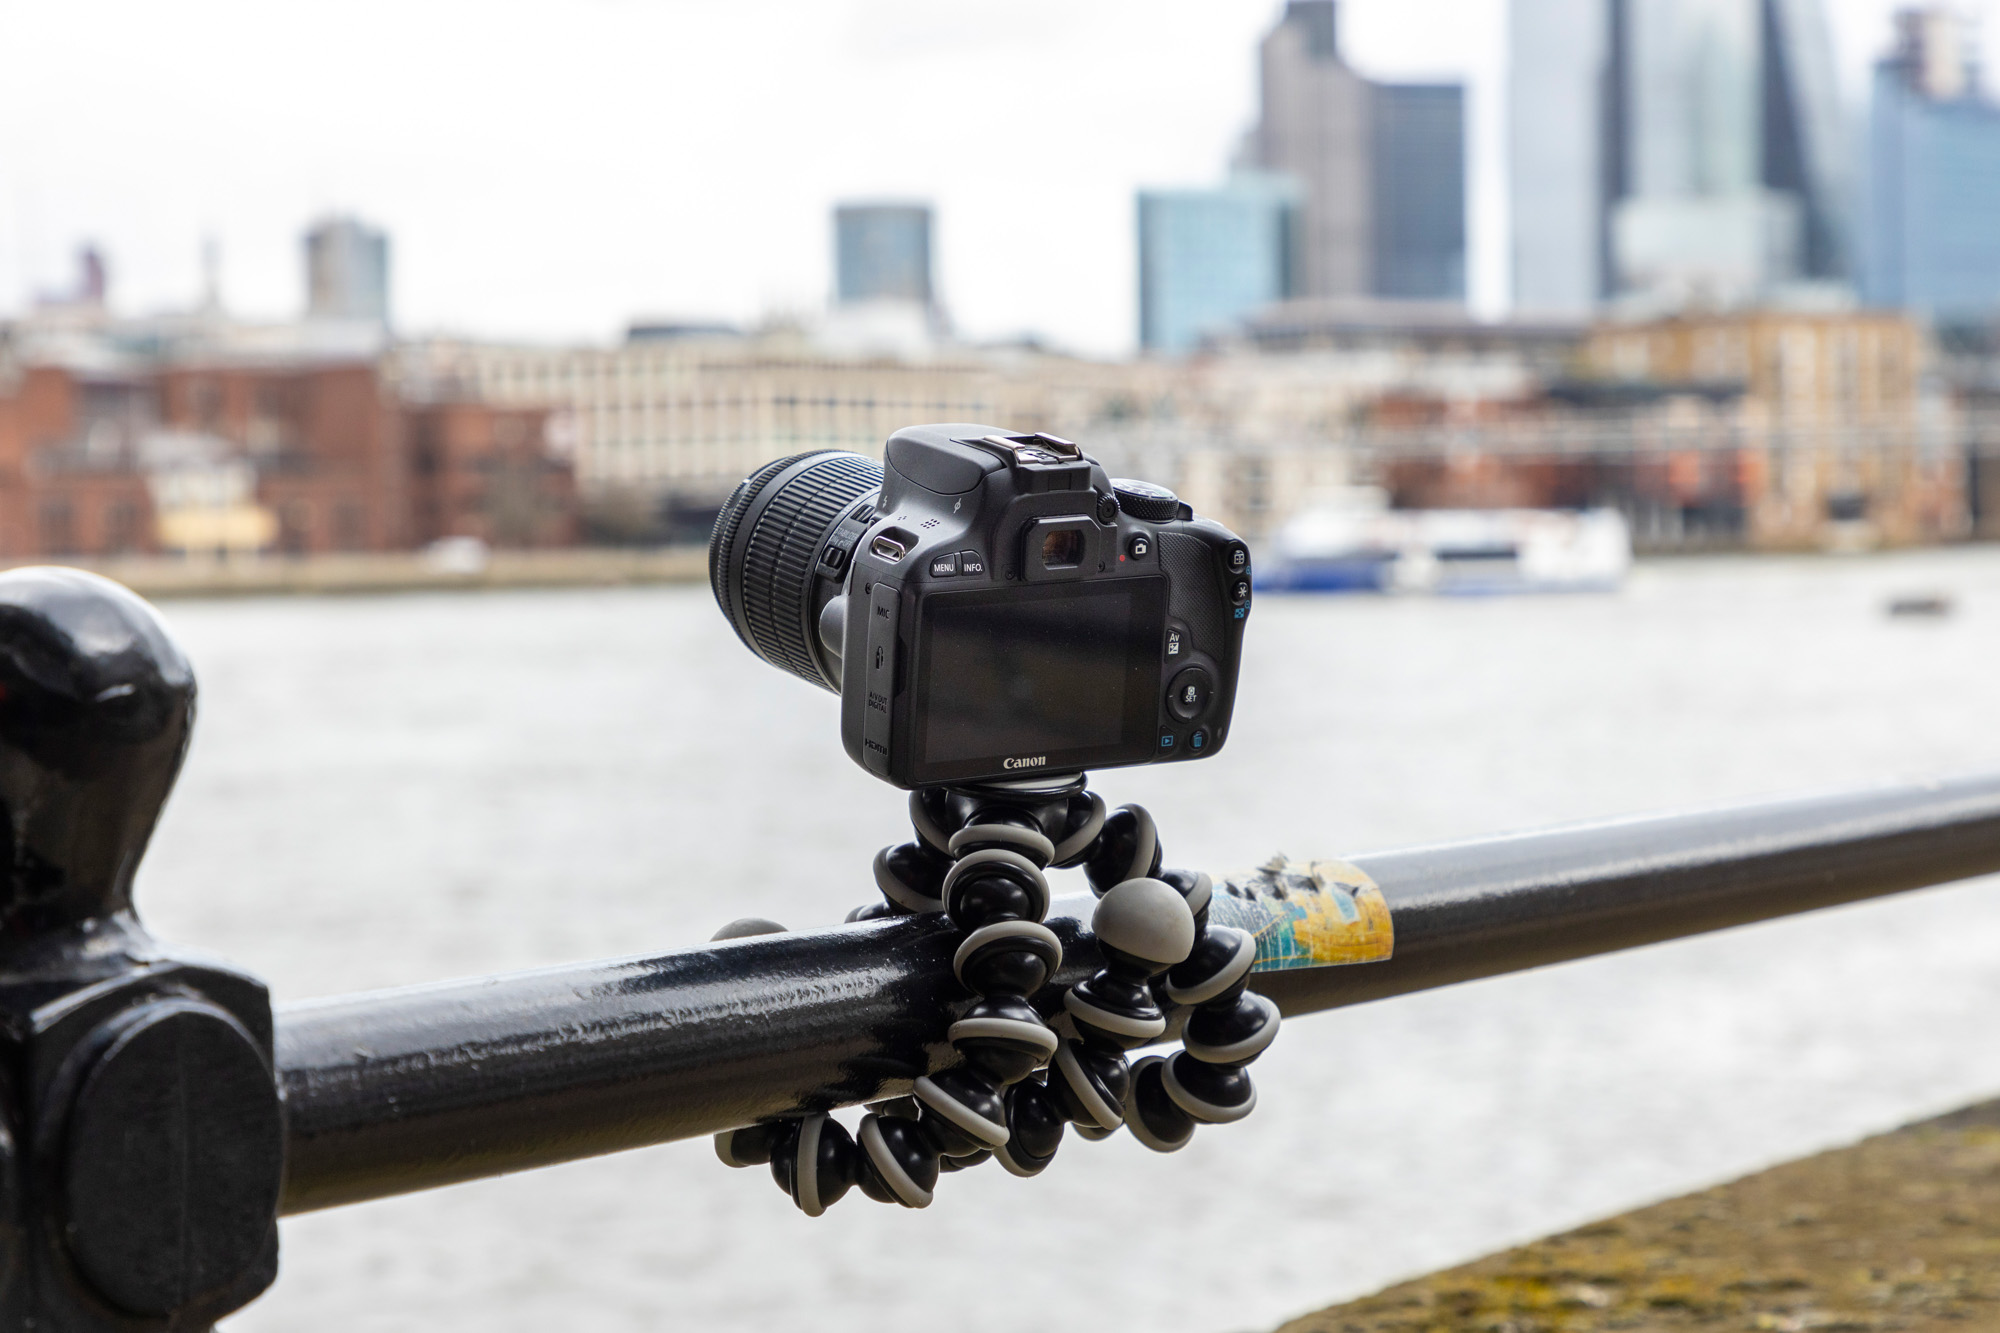
Travelling light definitely has its perks so a full-size tripod isn’t always the best solution. Instead, we favor a GorillaPod (pictured), which is much smaller and can be wrapped around railings and lamp posts, of which there are plenty in urban environments.
(Image credit: Future)
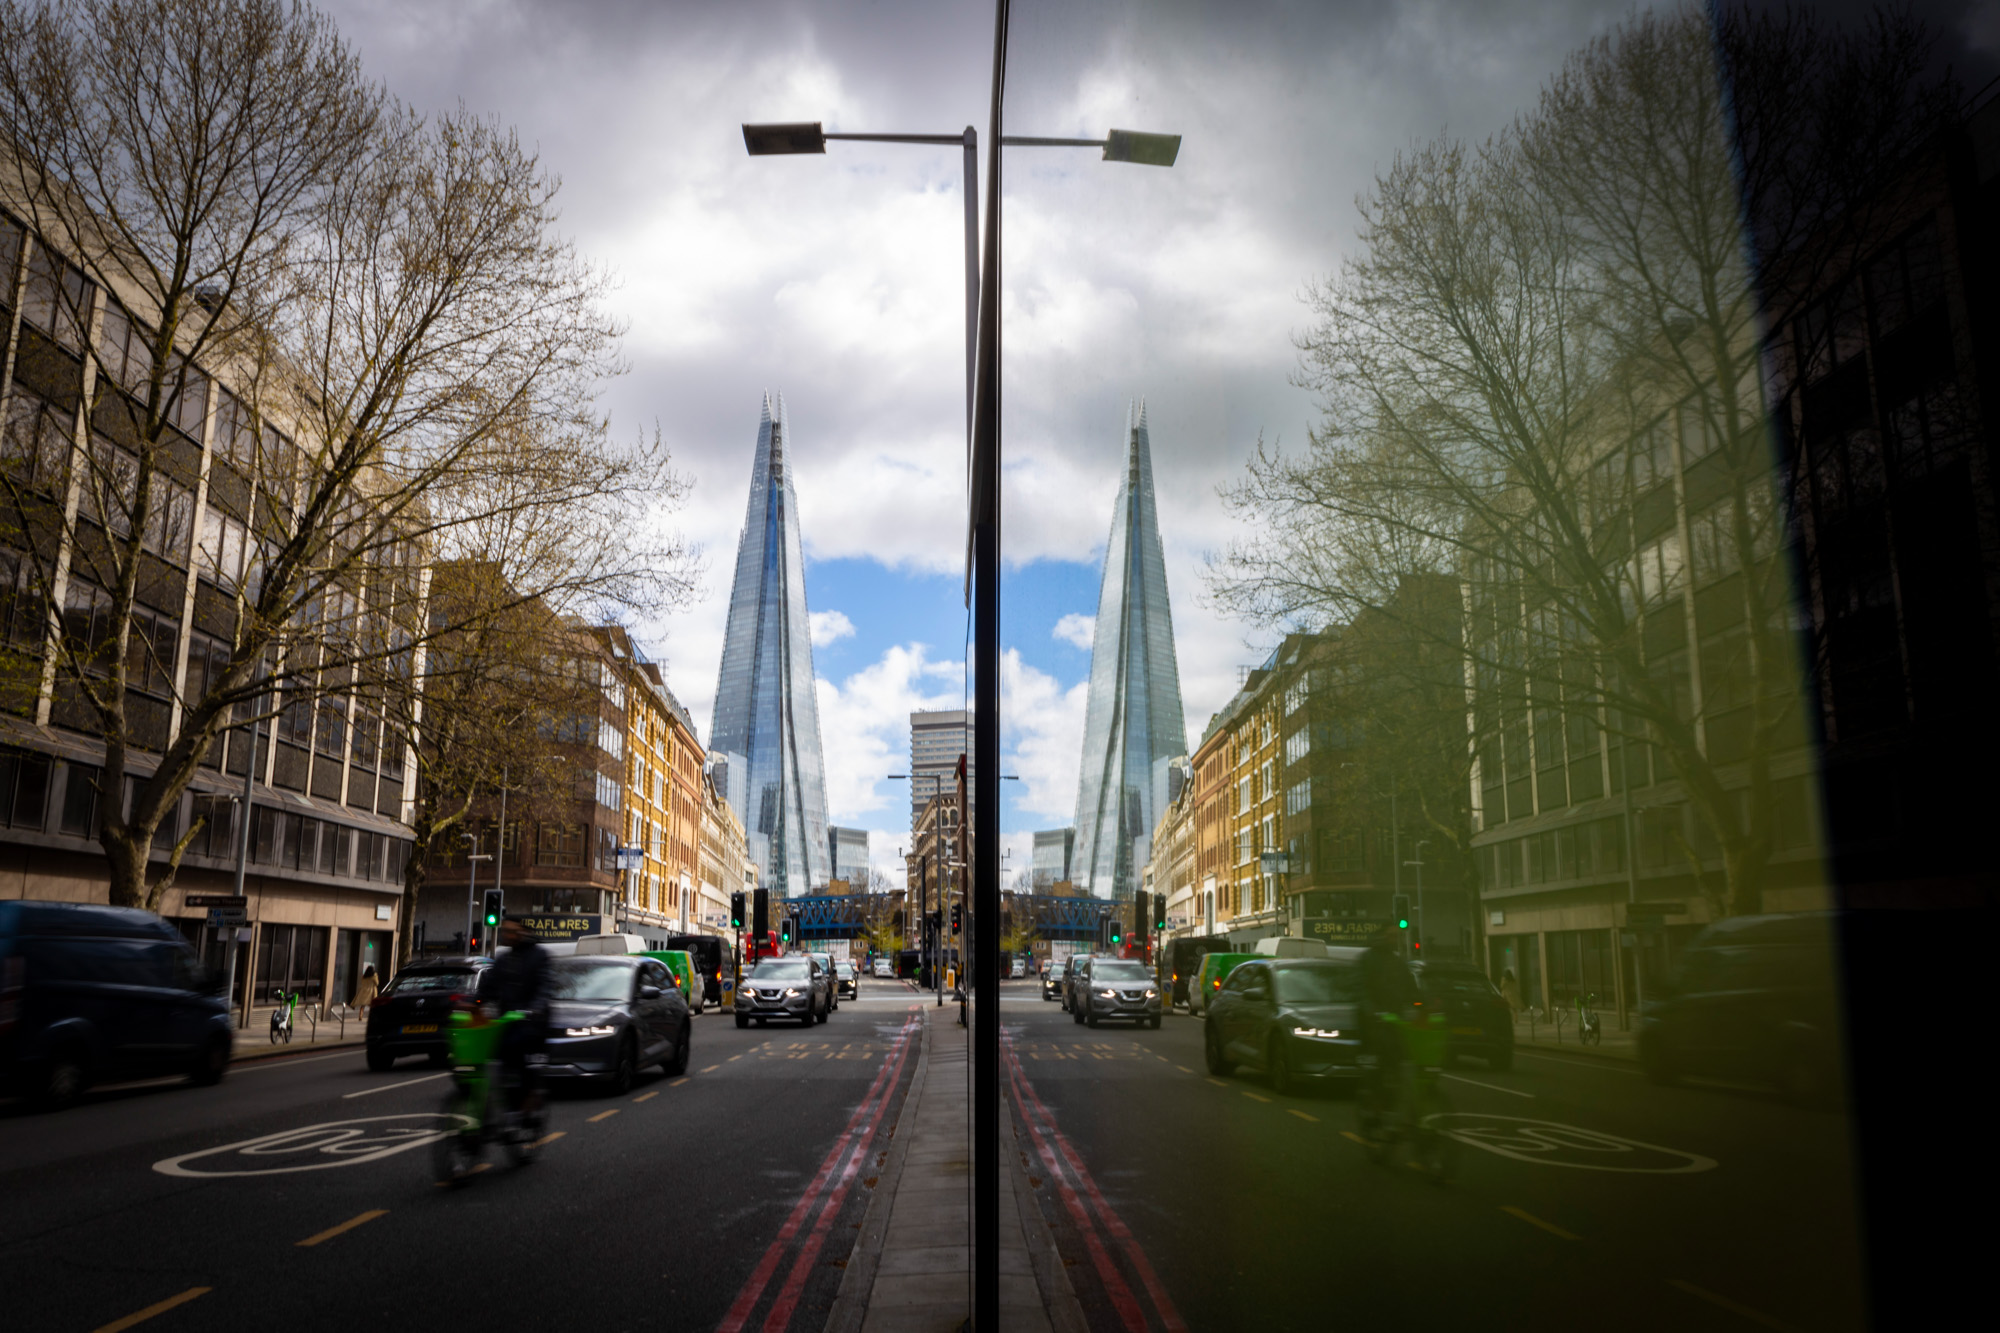
An easy way to make your city scenes look more graphic is to incorporate a reflection. There’s no shortage of glass windows in cities: we used a glass advertising panel from a bus stop here, you could even use water and puddles if smooth enough.
(Image credit: Future)
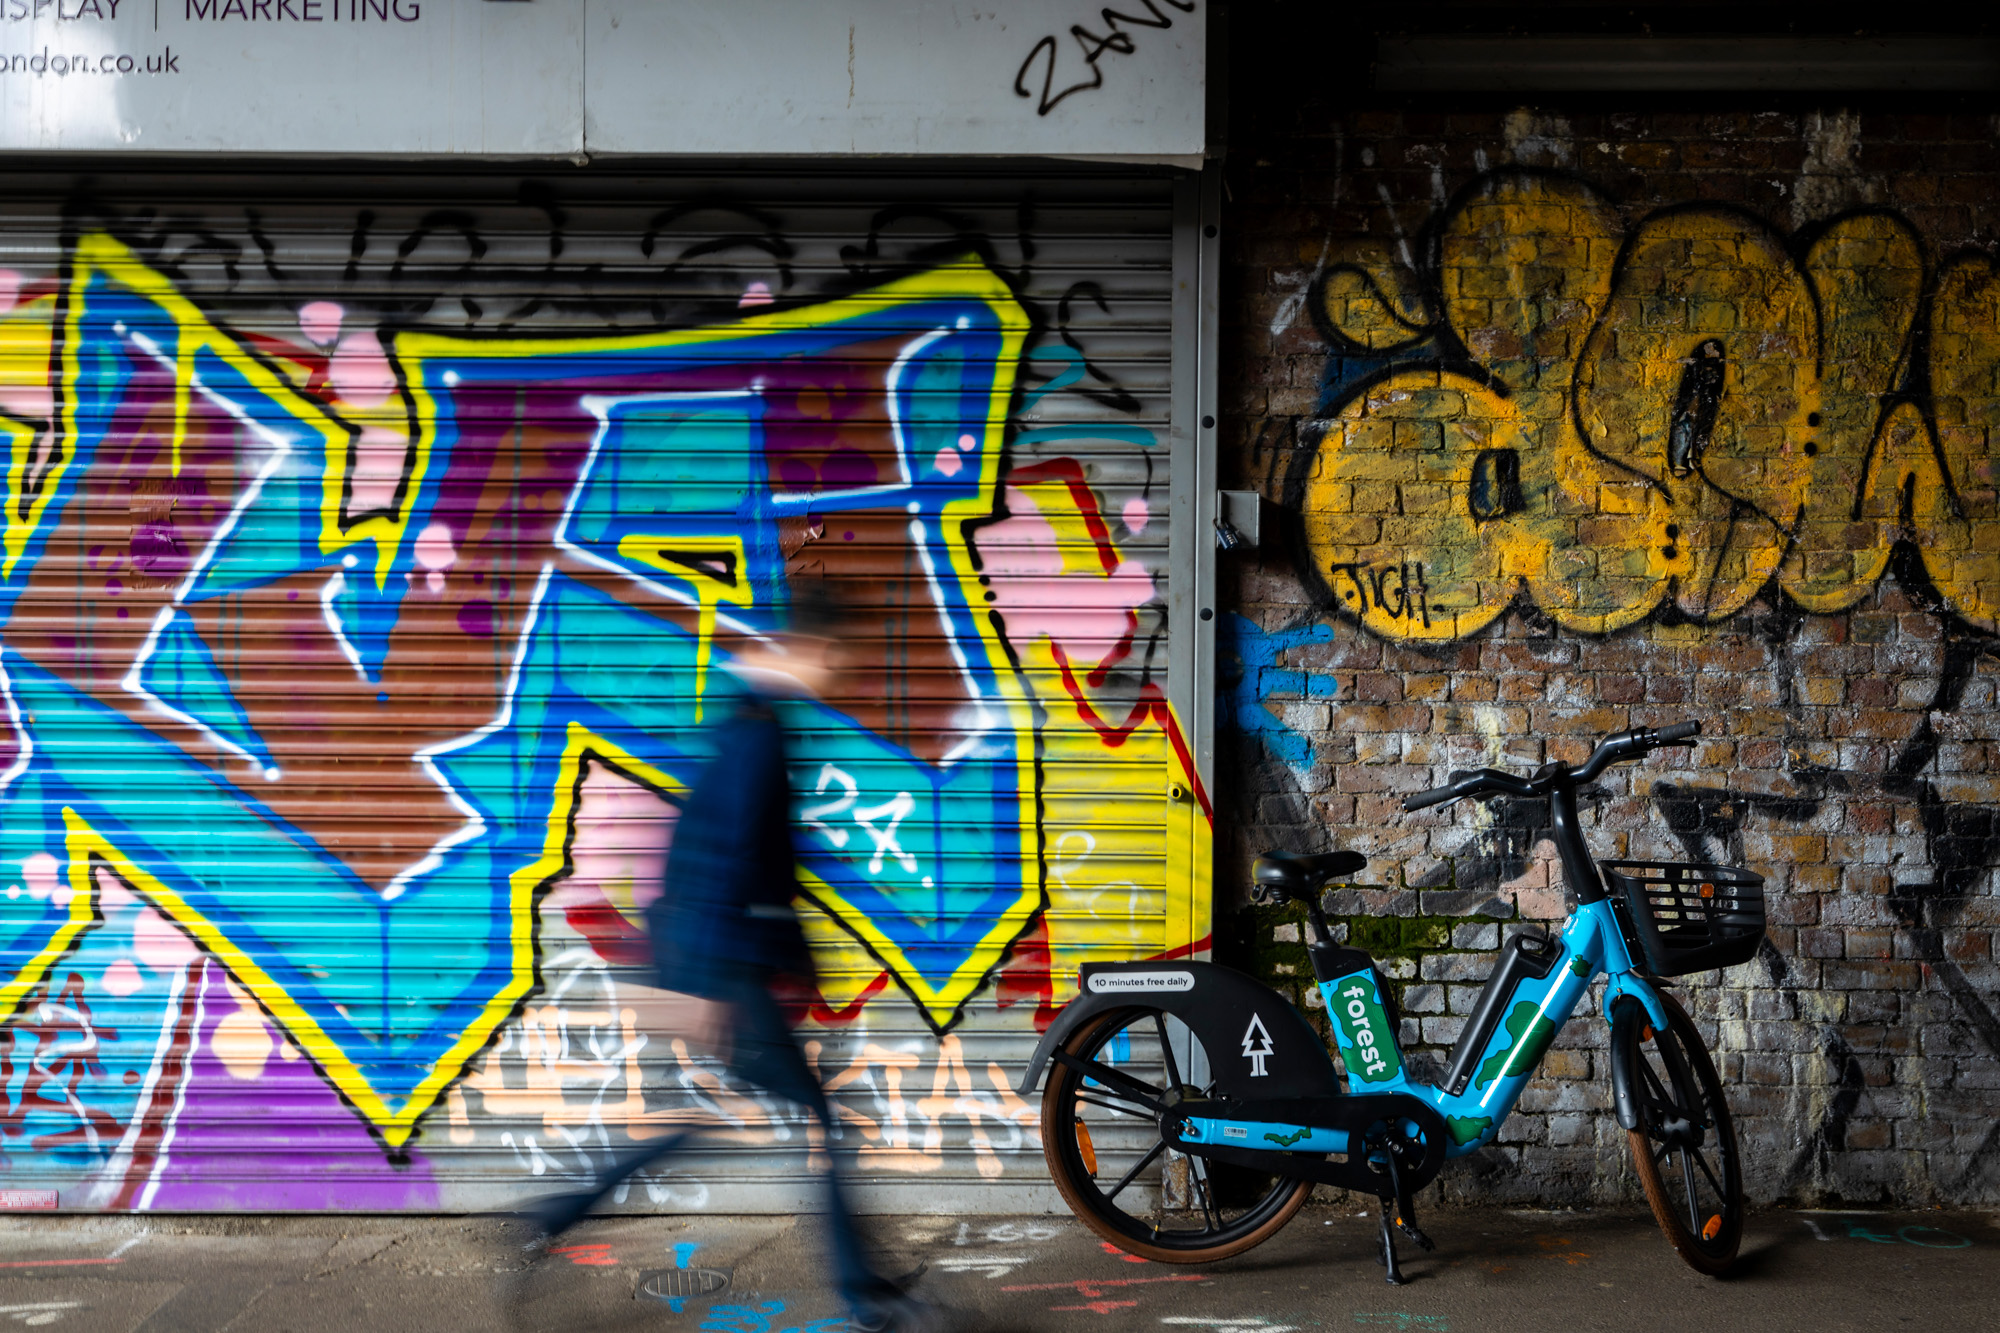
Frame up on scene and use an exposure fast enough to freeze the scene, but slow enough to blur moving people, cars or bikes as they pass through. Use Aperture Priority (Av) mode and set the ISO to 100, then close down the aperture until you have a shutter speed of 1/15 sec to get started.
(Image credit: Future)
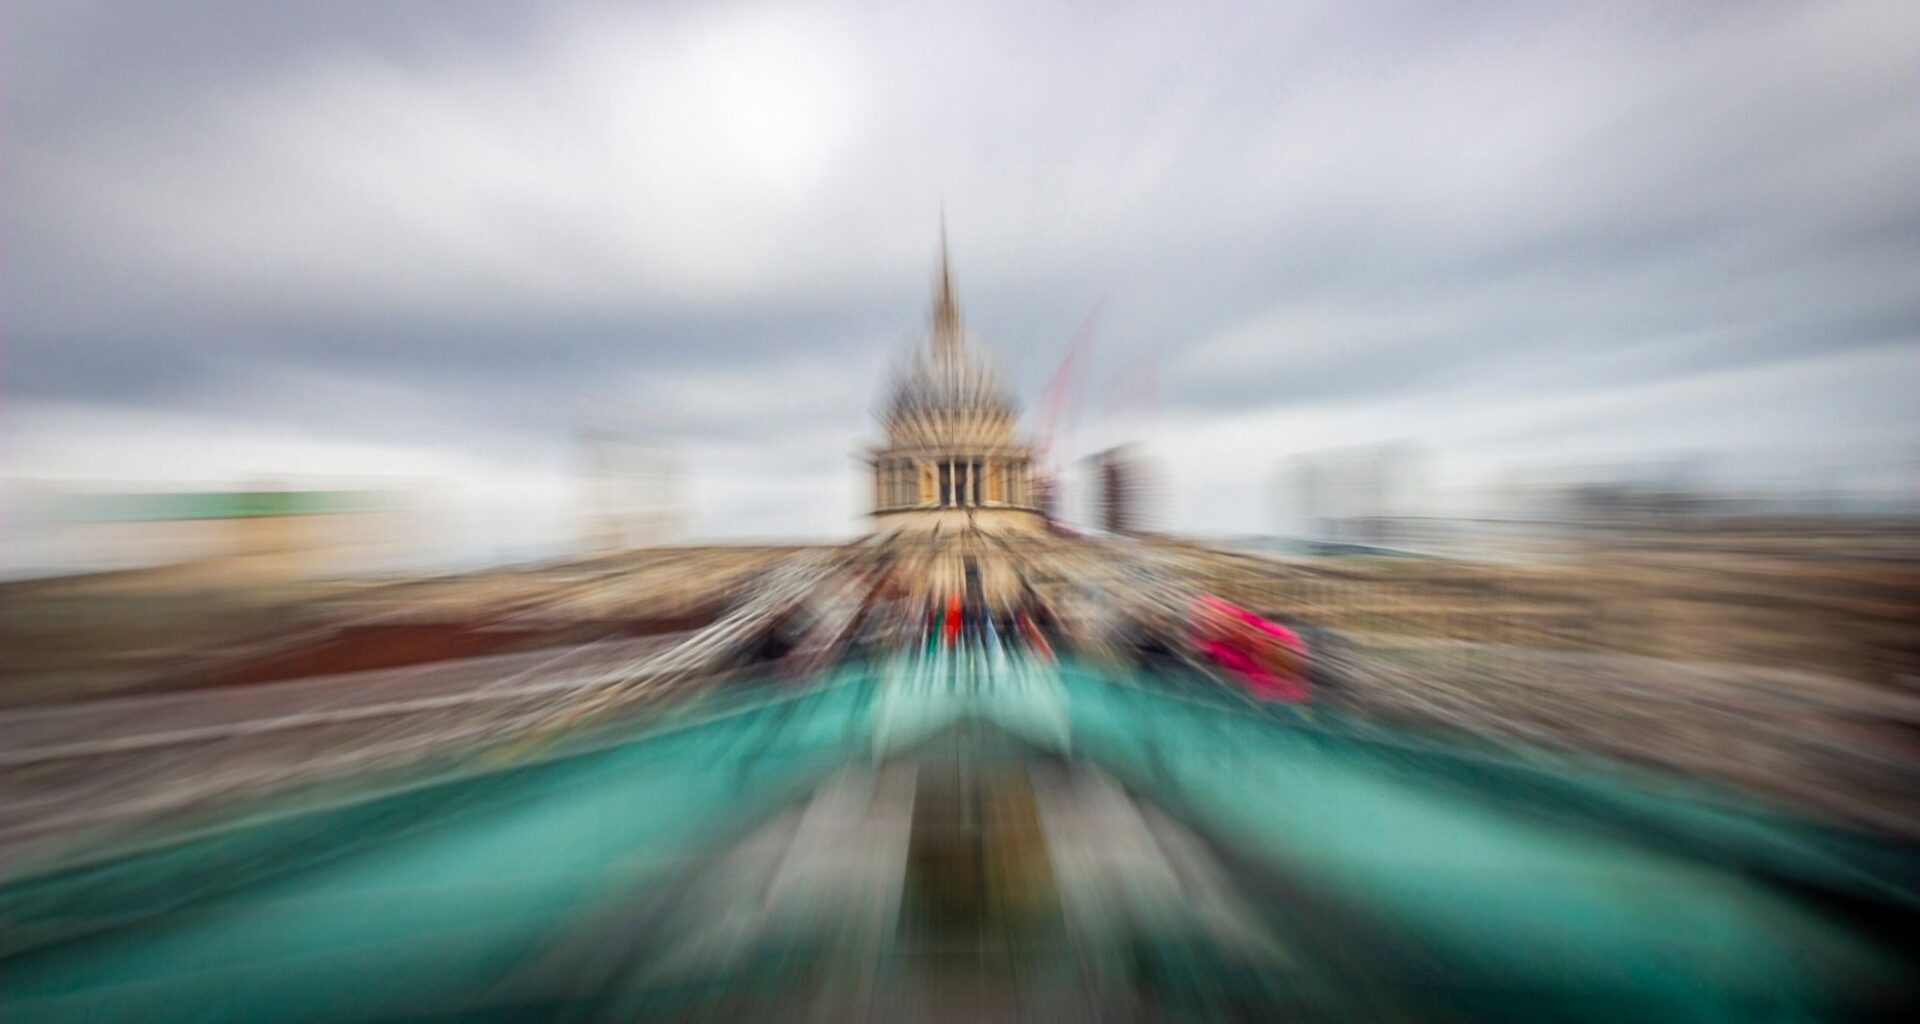
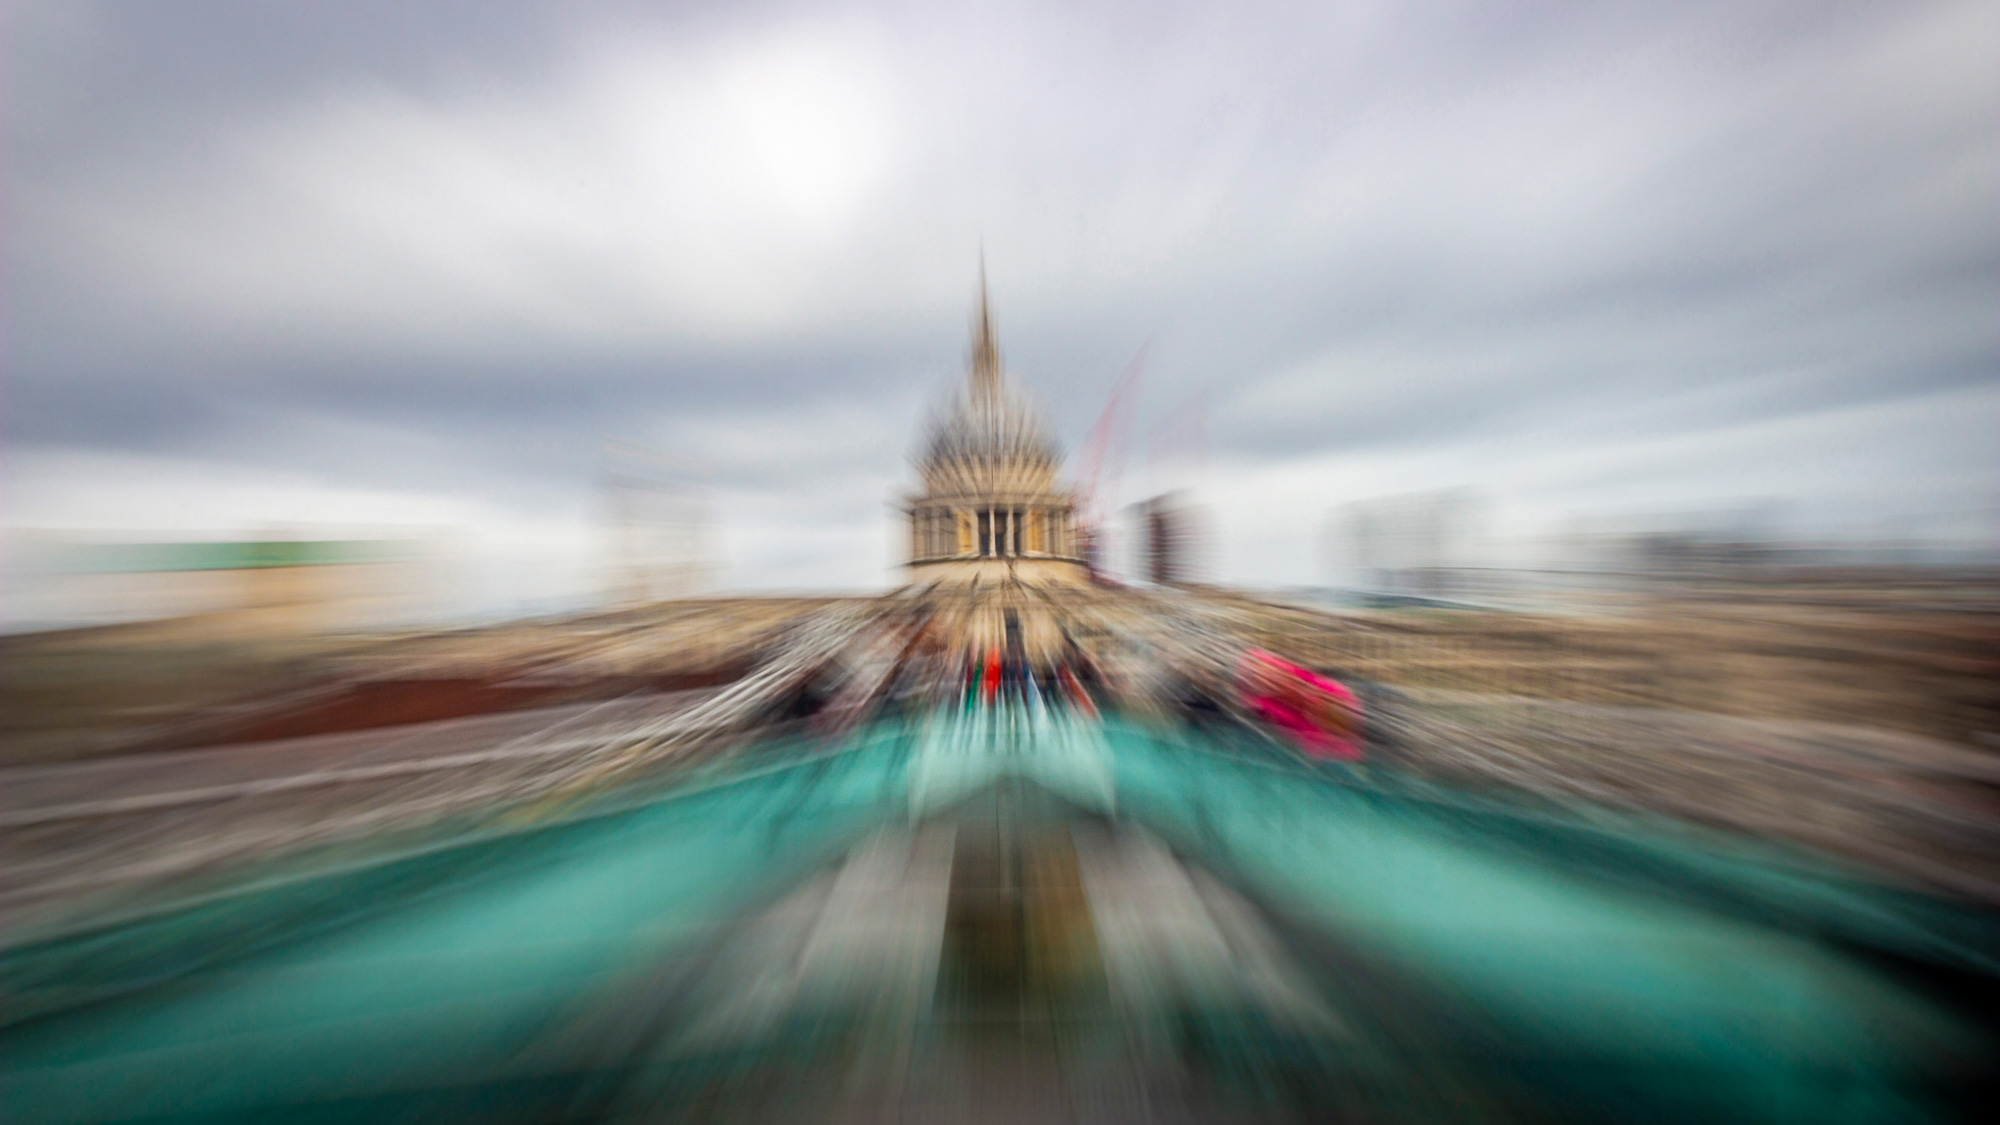
This is a fun technique to do with entry-level Canon EOS cameras and a kit lens, such as an 18-55mm. Use Shutter Priority (Tv) and dial in a shutter speed of 1/5 sec at ISO100. Focus on your subject, then fire the shutter while at the same time quickly rotating the zoom ring from 18mm all the way to 55mm.
(Image credit: Future)
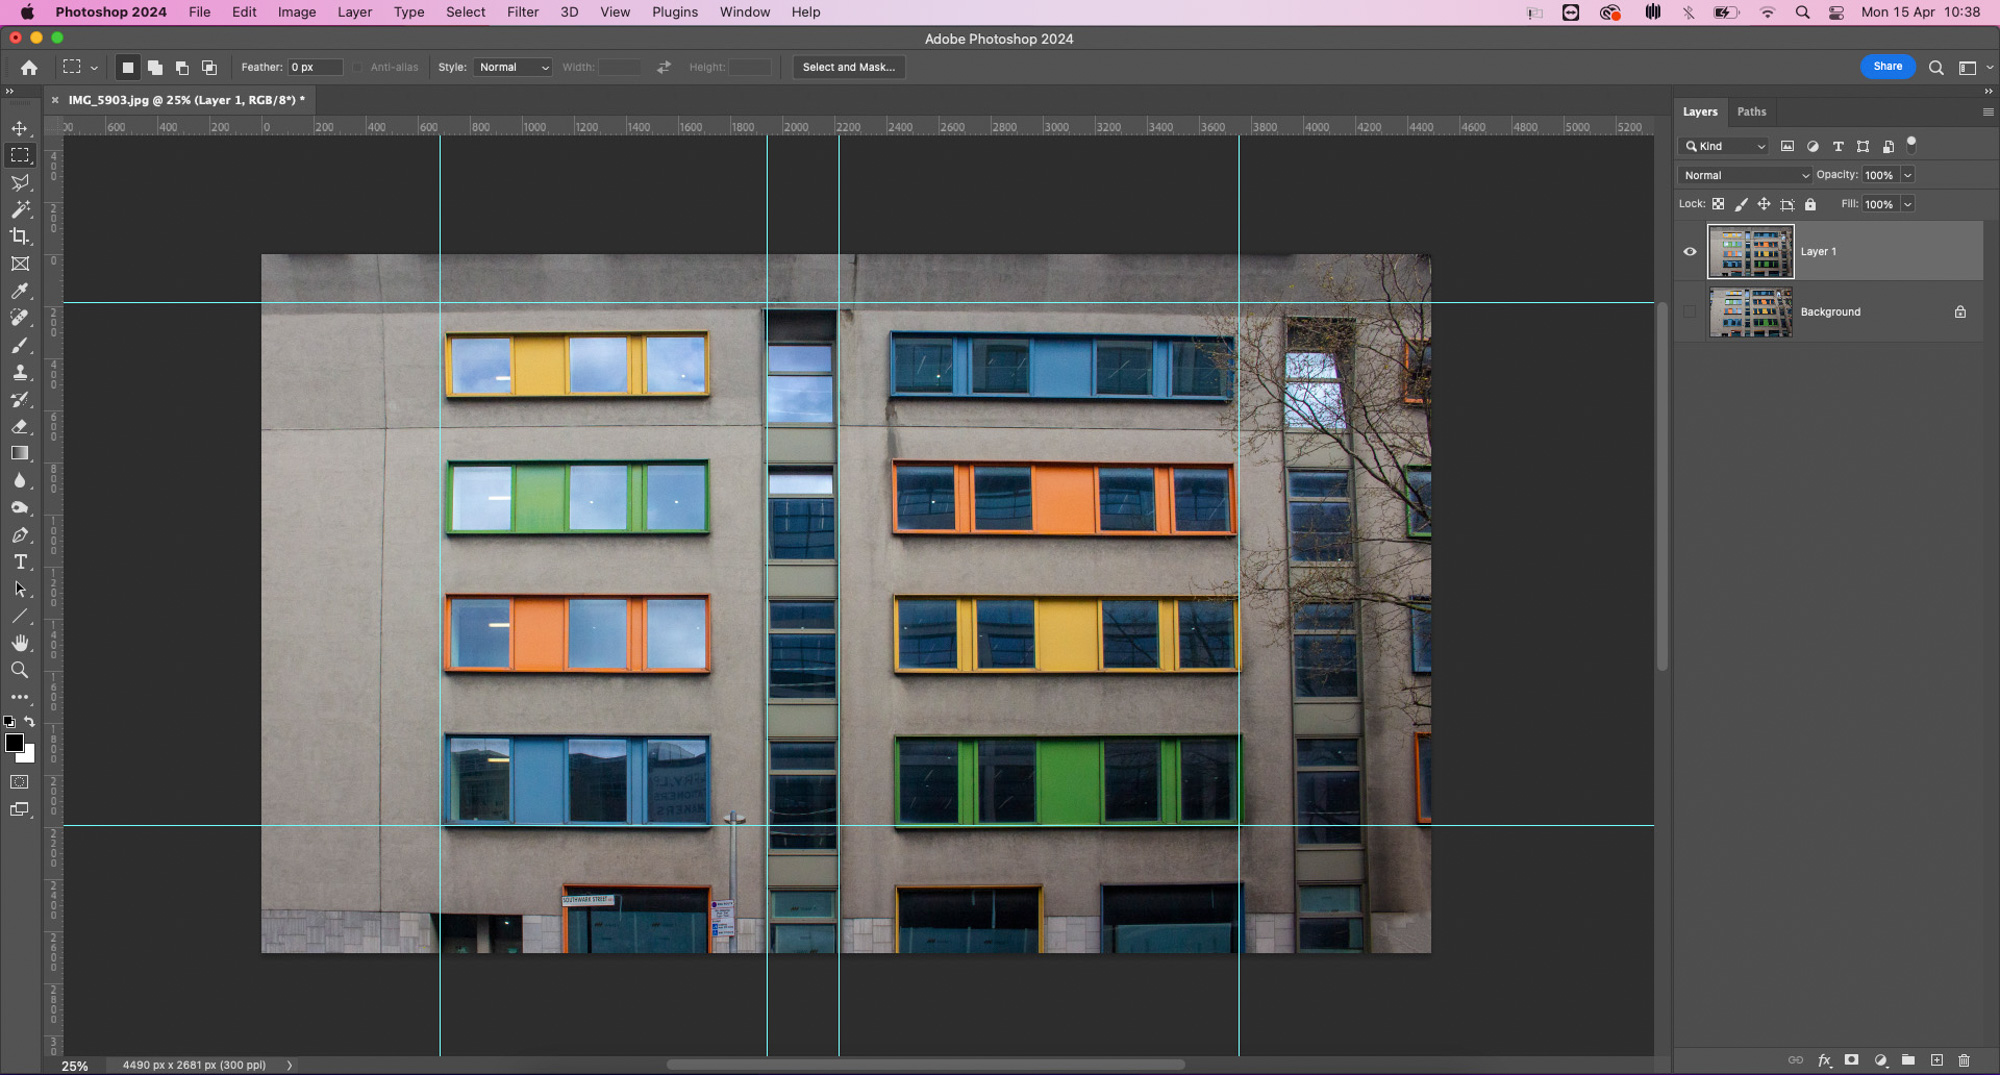
There’s some fascinating architecture with interesting lines and geometry. These straight lines are easy to distort when shooting from a low angle, or using a wide-angle lens, so be sure to straighten them up in Photoshop CC using the Perspective Crop Tool or Free Transform.
Check out the best cameras for street photography