
You’ve captured what you believe is the perfect sunset. The light was extraordinary, your composition was deliberate, and the histogram looked pristine. You import the file into Lightroom or Photoshop, apply a standard S-curve to add some contrast, and suddenly your beautiful sky transforms from a smooth gradient into something resembling a topographic map. Instead of that seamless transition from warm orange to deep blue, you’re looking at a series of ugly, jagged steps. What happened?
The culprit is deceptively simple: you ran out of precision before you finished your edit. Somewhere between your capture settings, your export choices, or your editing workflow, you backed yourself into a corner where the mathematical operations you asked your software to perform didn’t have enough data to work with. This is the reality of bit depth, and understanding it properly will fundamentally change how you approach your workflow from capture to delivery.
Think of it not as how many colors you can see, but as how many rungs exist on the ladder between pure black and pure white. If you’re simply climbing that ladder to view an image, having rungs every few inches is fine. But if you need to stretch that ladder, to pull those rungs apart because you’re recovering shadows or compressing highlights, suddenly the distance between each rung matters enormously. Space them too far apart, and you’ll trip during the edit. That tripping manifests as banding, posterization, and all the other artifacts that can ruin an otherwise beautiful photograph.
The Math of Tones: Capture vs. Containers
Understanding bit depth requires embracing a small amount of binary mathematics, but I promise it’s worth the effort. Bit depth operates on powers of two, which means each additional bit doesn’t add a fixed number of tones but rather doubles the total number available. An 8-bit file gives you 2^8 (256) possible shades per color channel. A 12-bit file provides 2^12 (4,096) shades per channel. A 14-bit file delivers 2^14 (16,384) shades per channel. And a 16-bit file offers a staggering 2^16 (65,536) shades per channel. When you multiply these across three color channels to calculate total possible colors, the numbers become almost incomprehensibly large: 16.7 million for 8-bit, 68.7 billion for 12-bit, 4.4 trillion for 14-bit, and 281 trillion for 16-bit. As a sanity check, no monitor on earth can display even a tiny fraction of 281 trillion colors, which reinforces the central point: these higher bit depths exist for processing headroom, not for viewing.
 These numbers mean different things depending on the context. An 8-bit file is what you encounter in JPEGs, web images, and final delivery formats. It’s the endpoint of your workflow, the format optimized for viewing rather than manipulation. Worth noting here is the rise of 10-bit HEIF files, which many modern cameras now offer as an alternative to JPEG. With 1,024 levels per channel, 10-bit sits in a useful middle ground, providing enough precision for HDR display workflows without the file size penalties of higher bit depths. A 12-bit raw file is what you’ll find in many entry-level cameras and in high-speed burst modes on professional bodies, where the data throughput limitations require some compromise on tonal precision. On some Sony models, for instance, raw is 14-bit in general shooting but can drop to 12-bit under specific conditions such as certain electronic shutter modes or extreme frame rates, as Sony documents in their official specifications. A 14-bit raw file represents the maximum capture precision available in most professional cameras today, including the Canon EOS R5 Mark II, Sony a7R V, and Nikon Z8 when shooting at standard frame rates. This is where you want to be for landscape work, studio photography, and any situation where you anticipate significant post-processing.
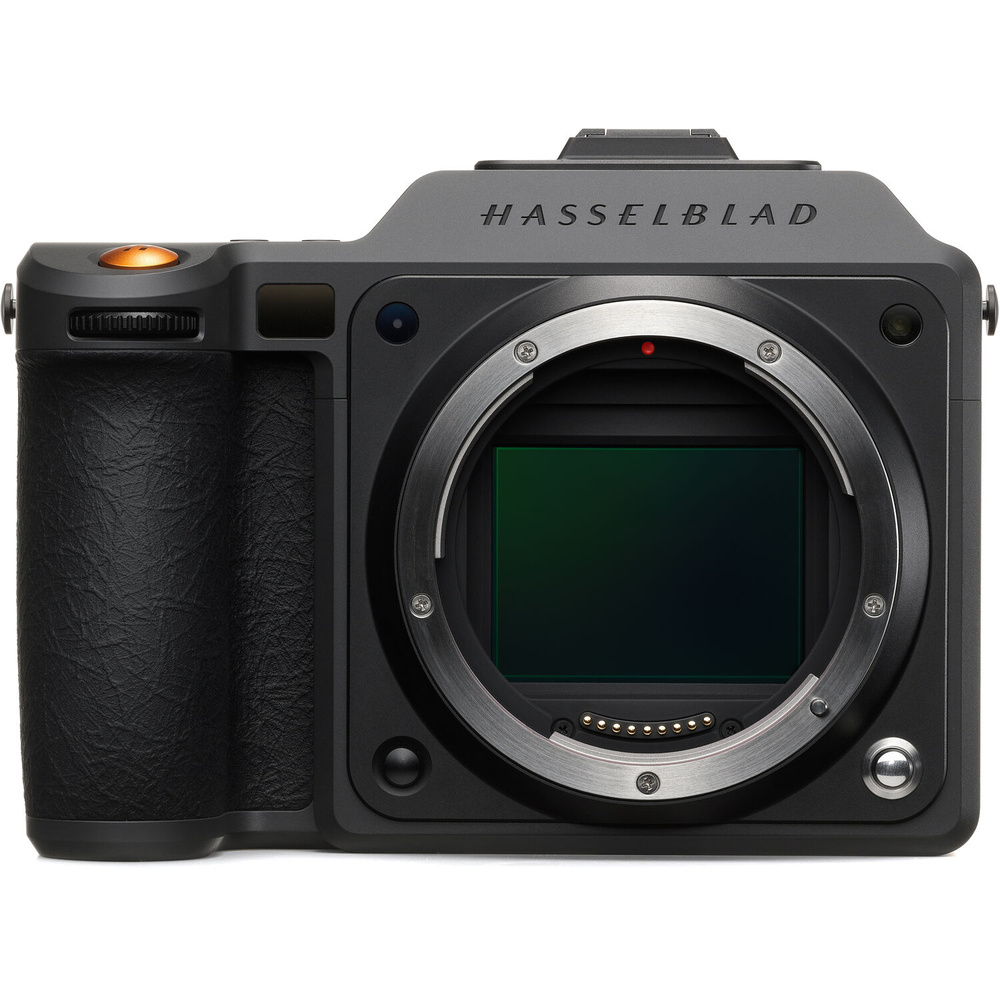
But here’s a crucial distinction that trips up many photographers: 16-bit is primarily an editing container, not a capture format. Most cameras do not capture 16-bit raw files. The notable exception is certain medium format systems, like the Hasselblad’s X2D 100C. For the vast majority of photographers working with full frame or APS-C systems, 16-bit enters the workflow not at capture but during editing. We use 16-bit TIFFs and PSDs as containers to hold our 12-bit or 14-bit data during the editing process. The reason is mathematical: every adjustment involves calculations that can produce rounding errors, and those errors compound across multiple adjustment layers. By working in a 16-bit container, you’re giving those calculations enough headroom that the rounding errors don’t accumulate into visible artifacts.
The Elastic File: Why Precision Matters for Processing
Estimates commonly cited suggest the human eye can distinguish on the order of 10 million colors under ideal conditions. An 8-bit JPEG, with its 16.7 million possible colors, covers this perceptual range with room to spare. So why do we need more? The answer lies in a fundamental misunderstanding about what we’re doing when we capture photographs. We don’t shoot images for viewing; we shoot them for processing. The file you capture is not the photograph. It’s the raw material from which the photograph will be constructed, and raw material needs to be workable.
Consider what happens when you “stretch” an 8-bit file by lifting shadows or recovering highlights. Those 256 rungs on your tonal ladder don’t multiply; they simply spread apart. Values that were adjacent in the original file might now be separated by gaps, and if those gaps get wide enough, you can see them. This is the phenomenon we call banding or posterization, and once you’ve quantized away the intermediate steps, you can’t fully recover the original smoothness. You can apply noise to mask it, you can try to blur the transitions, and modern tools have gotten remarkably good at these workarounds, but the fundamental data simply isn’t there. You can’t truly restore original precision after you’ve thrown it away, only approximate it.
This is precisely why maintaining a 16-bit workspace is strongly recommended even when working with 12-bit source files. It’s worth noting that Lightroom and Adobe Camera Raw already operate with high-precision internal math, so the risk isn’t within those applications themselves. The danger point comes when you round-trip files to Photoshop, bake edits into exported files, or work in 8-bit document modes. In Photoshop specifically, every slider you move, every curve you adjust, every layer you blend involves calculations that must be rounded to fit back into discrete tonal values, and each rounding introduces a tiny error. In an 8-bit Photoshop document, those errors become visible surprisingly quickly. In a 16-bit document, you have dramatically more precision, which means those rounding errors can accumulate through dozens of adjustment layers before they become perceptible. As a technical note, Photoshop’s “16-bit” mode actually uses 15-bit plus one level (0 to 32,768) rather than the full 65,536 levels, a decision Adobe made decades ago to simplify midpoint calculations, but this still provides vastly more headroom than 8-bit editing. The 16-bit container keeps the math clean, preserving the integrity of your 12-bit or 14-bit capture data through the entire editing journey.
Shadow Recovery: The Limits of Precision
If 14-bit capture provides more precision than 12-bit, and precision prevents banding, then 14-bit files should always produce cleaner shadow recovery, right? The reality is considerably more nuanced, and understanding why requires grappling with a concept that bit depth discussions often ignore: the noise floor.
Every digital sensor produces noise, and that noise is most prominent in the shadows, where the signal (the actual light information you’re trying to capture) is weakest. This baseline noise level is called the read noise or noise floor, and it represents a fundamental limit on how much useful information your sensor can capture in dark tones. Higher bit depth provides more “steps” in those shadow regions, but if those steps are buried beneath the noise floor, all you’re doing is precision-mapping the grain. You’re not recovering detail; you’re recovering noise with extra precision.
This is where Signal-to-Noise Ratio (SNR) becomes the dominant factor, compounded by a technical reality that many photographers don’t fully appreciate: in a 14-bit raw file, fully half of those 16,384 available levels are dedicated to the single brightest stop of light. The next stop down gets half of what remains, and so on. By the time you reach the deep shadows, you might have only a handful of discrete levels available to describe tonal variations. This is the real reason why bit depth matters most in the shadows, and why techniques like Expose To The Right (ETTR) are so effective. When you deliberately overexpose to maximize signal before pulling exposure back in post, you’re not just fighting the noise floor, you’re placing your shadow information higher on that scale, where more code values are available to describe it.
Here’s a reality check that might surprise you: a modern, low-noise sensor shooting 12-bit raw will often produce cleaner, more usable shadow recovery than an older, noisier sensor shooting 14-bit. Modern stacked sensors have pushed noise floors so low that the practical difference between 12-bit and 14-bit capture has narrowed considerably for most real-world shooting. A camera from 2015 shooting 14-bit might give you more tonal steps on paper, but those extra steps are often just mapping noise you don’t want. Bit depth matters, but it’s not the only thing that matters, and sometimes it’s not even the most important thing.
The Printing Trap: Banding, Dithering, and Large Format
One of the most persistent myths in photography is that you need high bit depth to produce quality prints, particularly large format prints. You’ll hear photographers insist that 8-bit files cannot produce gallery-quality output, but this isn’t accurate. You can print 8-bit files beautifully, provided those files haven’t been “over-stretched” during editing. The problem isn’t the 8-bit endpoint; it’s what happened to the file before it got there.
Banding in prints typically emerges from a specific combination of factors: smooth gradients (skies, studio backdrops, skin tones), heavy tonal remapping (dramatic contrast adjustments, significant exposure corrections, aggressive color grading), and insufficient dithering in the output stage. If your image contains large areas of smooth gradation and you’ve applied substantial adjustments in an 8-bit workflow, you’re likely to see stepping in your prints. But if you’ve processed that same image in a 16-bit workflow and only converted to 8-bit at the very end, the smooth gradations will survive.
The 16-bit pipeline becomes especially important when preparing files for large format output. Keeping your working file in a 16-bit container through the sharpening and rendering stages ensures that your print lab or your own printer receives the smoothest possible data. Modern printers apply their own dithering algorithms during output, breaking up smooth gradients into patterns of tiny dots that the eye perceives as continuous tone. By giving the printer clean source data, you’re allowing its dithering to work from an ideal starting point.
The 2026 Practical Workflow
Knowing the theory is valuable, but practical implementation is where photographers often stumble. Here’s how bit depth considerations should flow through your workflow, from capture through final delivery.
In-camera, your choice between 12-bit and 14-bit (or 16-bit, if you’re shooting medium format) should be driven by your subject matter and shooting conditions. For sports, action, and wildlife photography, where high frame rates and rapid buffer clearing are essential, 12-bit makes perfect sense. Many cameras offer 12-bit modes specifically for high-speed shooting, and with modern stacked sensors producing such low noise floors, the practical difference between 12-bit and 14-bit is often invisible except in the most extreme shadow pushes of five stops or more. You’re typically not performing dramatic shadow recovery on action shots anyway; you’re prioritizing timing and responsiveness. For landscape, architecture, and studio work, where you anticipate significant post-processing and can afford slightly slower shooting speeds, 14-bit is the clear choice. The Canon EOS R5 Mark II, Sony a7R V, and Nikon Z8 all capture 14-bit raw with excellent results, giving you maximum tonal precision for demanding editing workflows. And if you’re working in medium format, cameras like the Hasselblad X2D 100C offer true 16-bit capture, providing the ultimate in tonal precision for photographers who need every possible advantage in post-processing.
 In software, your settings matter more than many photographers realize. If you’re using Lightroom Classic and sending files to Photoshop for advanced editing, check your External Editing preferences immediately. They should be set to 16-bit TIFF in the ProPhoto RGB color space. This combination is critical: ProPhoto RGB’s enormous gamut means the “rungs” between adjacent colors are already widely spaced, so using it in 8-bit would cause banding before you even started editing. The 16-bit depth is what makes ProPhoto RGB viable as a working space. The same principle applies to any handoff between applications: always use 16-bit containers until the very last step of your workflow. If you’re working entirely within Photoshop, keep your working documents in 16-bit mode through all adjustment layers, compositing, and retouching. Only convert to 8-bit when you’re ready to export.
For delivery, 8-bit sRGB remains the undisputed king of the internet, and that’s perfectly appropriate. Web browsers, social media platforms, and most displays are designed around 8-bit sRGB. Delivering files in wider gamuts or higher bit depths often makes them look worse, as colors get incorrectly interpreted or clipped. The key insight is that 8-bit delivery is fine as long as it’s the last step. Capture with maximum precision, edit in a 16-bit container, and only drop to 8-bit sRGB when the creative work is complete.
The Golden Rule of Bit Depth
After all this technical discussion, the practical takeaway is surprisingly simple. You cannot add rungs to the ladder after the photograph is taken. Every capture decision, every workflow choice, every export setting either preserves or destroys tonal precision, and once that precision is gone, no amount of processing can bring it back.
Capture with the highest bit depth your storage and shooting speed allow. For critical work where you have time to be deliberate, that means 14-bit raw. For fast action where frame rate matters, 12-bit is an acceptable compromise. Edit in a 16-bit container to protect the mathematical precision of your adjustments, regardless of whether your source file is 12-bit or 14-bit. And only drop to 8-bit when the work is genuinely done, when every adjustment has been made, and you’re simply rendering the final deliverable.
Bit depth doesn’t make a photograph better. It doesn’t improve your composition, timing, or creative vision. What it does is make your photograph “stretchy” enough to become better in post-processing without falling apart. It’s not about what you can see; it’s about what you can do with what you captured. Understand that distinction, build your workflow around it, and you’ll dramatically reduce the odds of posterization and banding in even the most demanding gradient-filled images.