Sharpening is where a solid edit can quietly fall apart, especially once you export for the web and everything gets resized. If you want crisp detail without crunchy edges or noisy skies, you need a method that matches the way you actually share images online.
Coming to you from Christian Möhrle, this practical video walks through a complete edit and uses sharpening as the payoff at the end, not the opening move. Möhrle starts by dealing with a problem most people ignore until it ruins a photo: ugly sensor dust and small distractions that pull attention away from the scene. He uses Lightroom’s newer Dust and distraction tools, then switches to manual cleanup when the automated result misses spots. That alone is worth seeing, because it shows what to fix first so later contrast and sharpening do not amplify the mess. You also get a clear sense of how far to push cleanup before the image starts to look unnaturally polished.
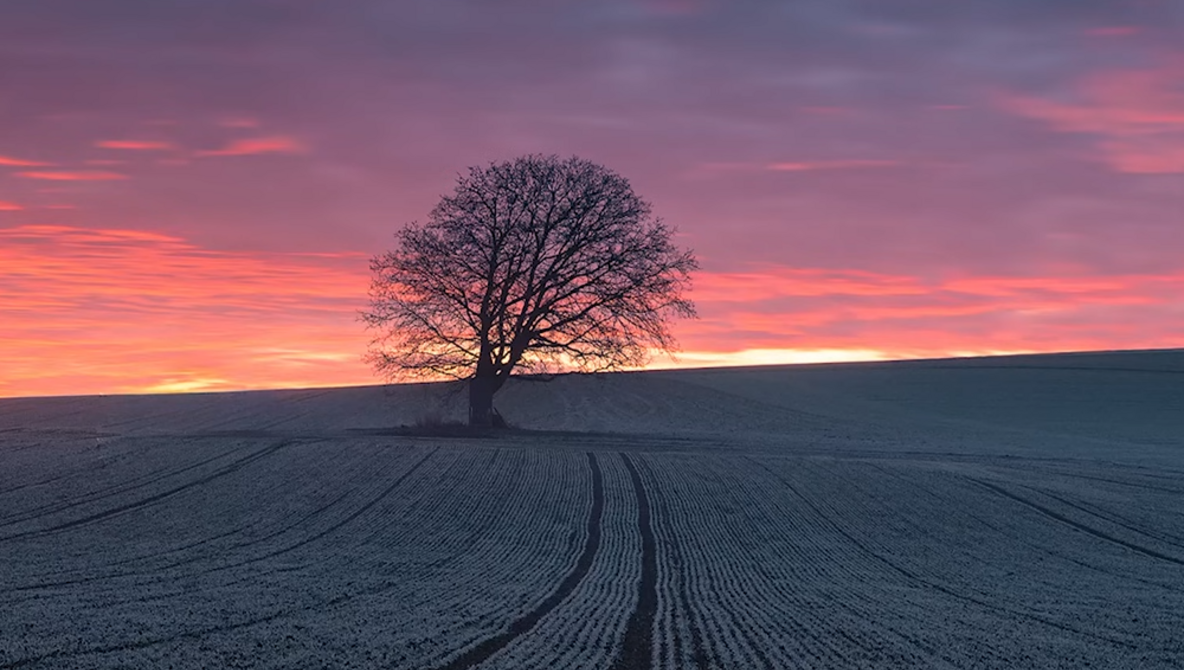
After the cleanup, Möhrle makes the photo sharper long before touching any sharpening sliders, and that is the point many people skip. He uses Texture with a light hand to bring out fine detail, avoids leaning on Clarity the usual way, and even goes negative on Clarity for a controlled glow that still keeps structure in the scene. Then he nudges Dehaze to change contrast in a way that makes the foreground read more clearly without turning the sky into a harsh gradient. The masking section is where the edit turns from global adjustments into a deliberate path for the eye: darker top sky, brighter warmer horizon, and a foreground that gets punch without blowing out frosty highlights. The moves are simple, but the order matters, and the video makes that order feel repeatable.
When Möhrle finally hits sharpening inside Adobe Lightroom Classic, he focuses on the three settings that decide whether the result looks clean or cheap: Radius, Detail, and Masking. He keeps Radius small for fine edges, pushes Detail higher than many people are comfortable with, then uses Masking to keep smooth areas like sky from picking up noise patterns. The tip about holding Alt while adjusting Masking is the kind of small workflow detail that saves time and prevents guesswork. He also makes a blunt point about web output: you can push sharpening more than you think, because artifacts that look scary at 100% often disappear once the image is resized and viewed on a phone screen.
Then he switches to Adobe Photoshop and shows two common sharpening routes that people argue about but rarely demonstrate cleanly. The first is Unsharp Mask on a Smart Object so the settings stay editable, with a small radius and a moderate amount rather than a heavy-handed boost. The second is High Pass sharpening with a low radius and a blending mode like Overlay, which can look subtle until you toggle the layer off and on. The real advantage shows up when he masks sharpening away from the sky using Select Sky, so detail in branches and grass gets the benefit while the smooth gradients stay calm. If you have ever sharpened a landscape and watched the sky turn into a gritty mess, that one step changes the whole game. Check out the video above for the full rundown from Möhrle.
