Setting up a NAS takes a lot of weight off your PC’s shoulders and reduces the financial strain of cloud storage and streaming services, too. They are often marketed as your personal, private cloud with oodles of expandable storage and redundancy protection for your backups, media, and important files, all accessible from any device on your Wi-Fi. On your local home network, it’s a secure, fast, and convenient data vault that can run several self-hosted services as well.
However, extending that personal cloud beyond your four walls to access your files from a hotel, or automatically back up your phone’s photos while you’re on vacation, is deceptively simple. When starting out with a new NAS, you could easily flick a few switches in your router settings to make your NAS visible to the public internet. Inadvertently or otherwise, this is a dangerous proposition because what enables remote access for you may also make your NAS and home network a glowing beacon for cyberattackers. Without setting up secure tunnels or a VPN, you’re jeopardizing multiple devices and your digital existence. Allow me to explain.
The cloud replacement myth
Marketing isn’t always the whole truth
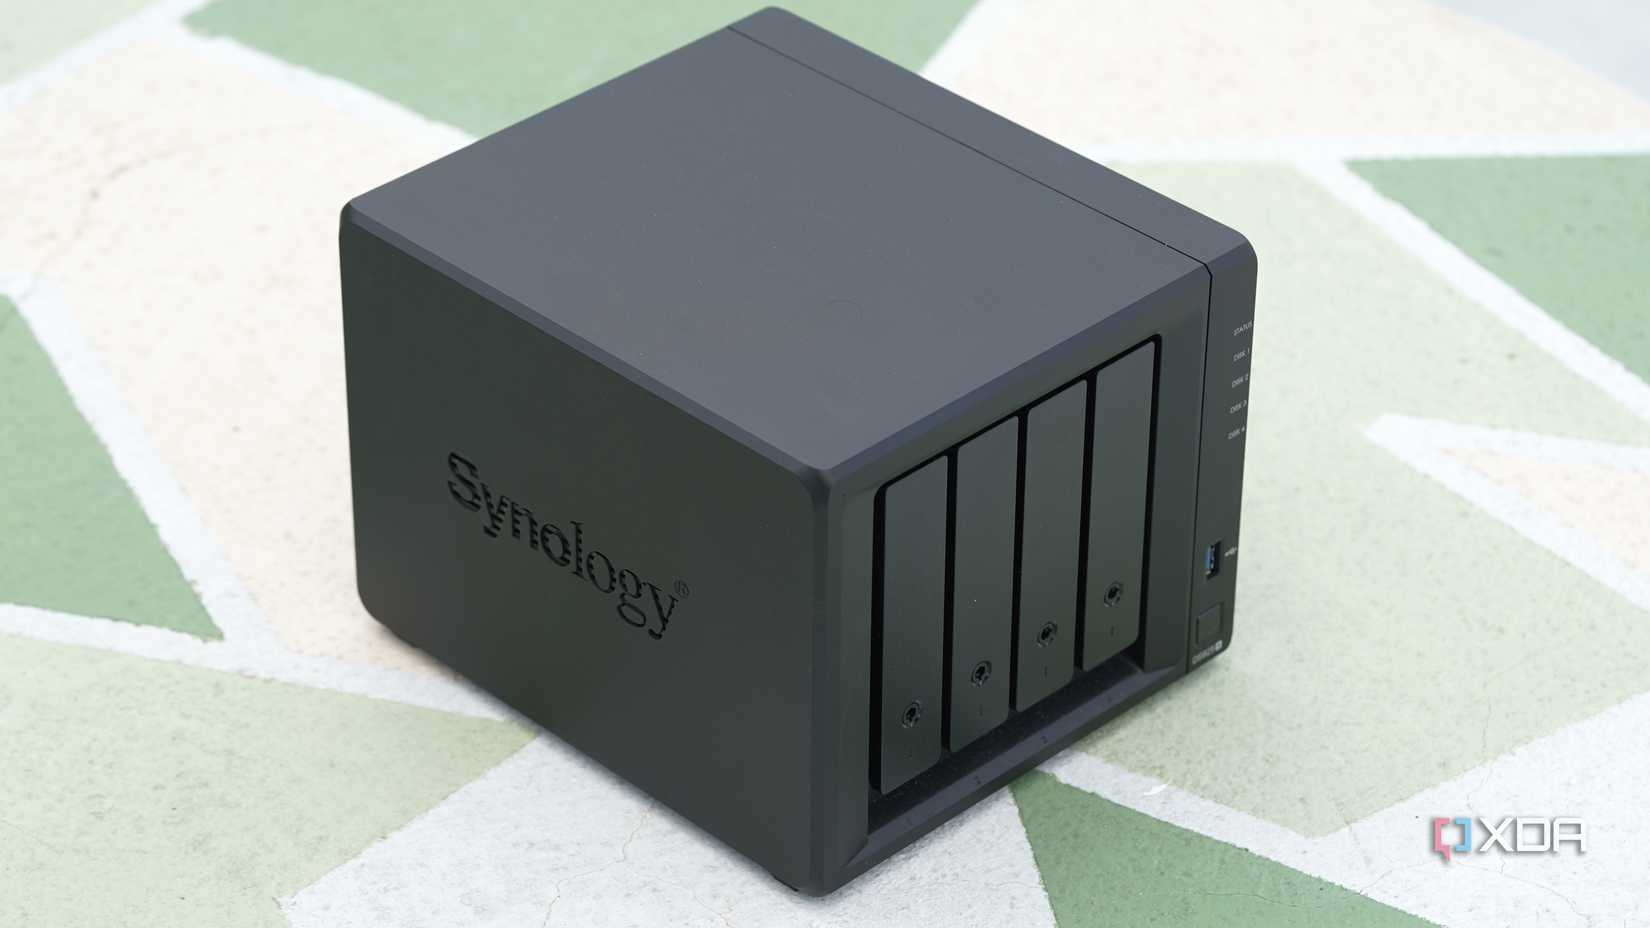
A NAS is frequently marketed as the ultimate cloud storage replacement, but that’s only half the story. Yes, it replaces the storage part, but it doesn’t automatically replace the robust, professionally managed security and accessibility of a cloud enterprise operating at scale. Without an off-site backup for your NAS on separate, offline drives, you’re one disaster away from losing everything. Sure, a RAID configuration offers reassurance against drive failure within the NAS, but backups ensure you’re insulated from natural calamities or ransomware attacks wiping out your NAS. For this reason alone, if you’re a new NAS owner, you should strongly consider using it exclusively on your home network at first. Taking your NAS online can quickly prove to be a big mistake.
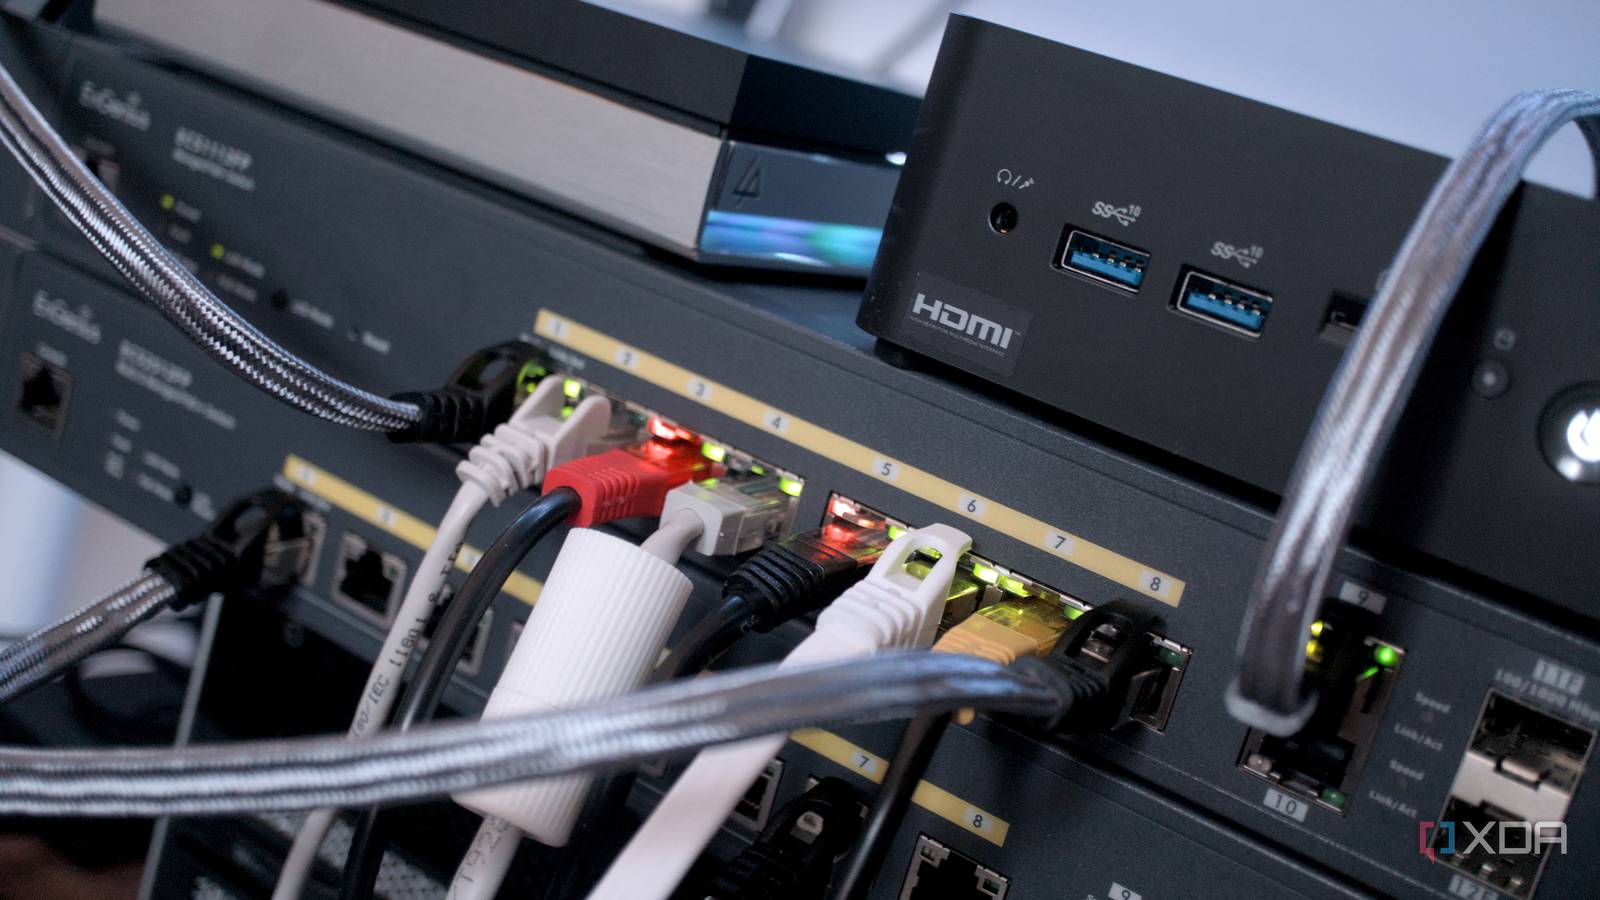
Exposing your NAS to the internet typically happens if you set up port forwarding on your router to allow traffic from the outside world to access storage and other devices on your home network. Synology’s setup process for a new NAS famously offers this as an option through the QuickConnect service. If you use the default settings and forward the default ports (like 5000/5001 for Synology or 8080/443 for QNAP), you are essentially painting a massive target on your back. You’re telling every automated port scanner bot and malicious actor on the internet about your consumer-grade hardware, likely set up with the default password.
The perils of an exposed NAS
Open season for attacks
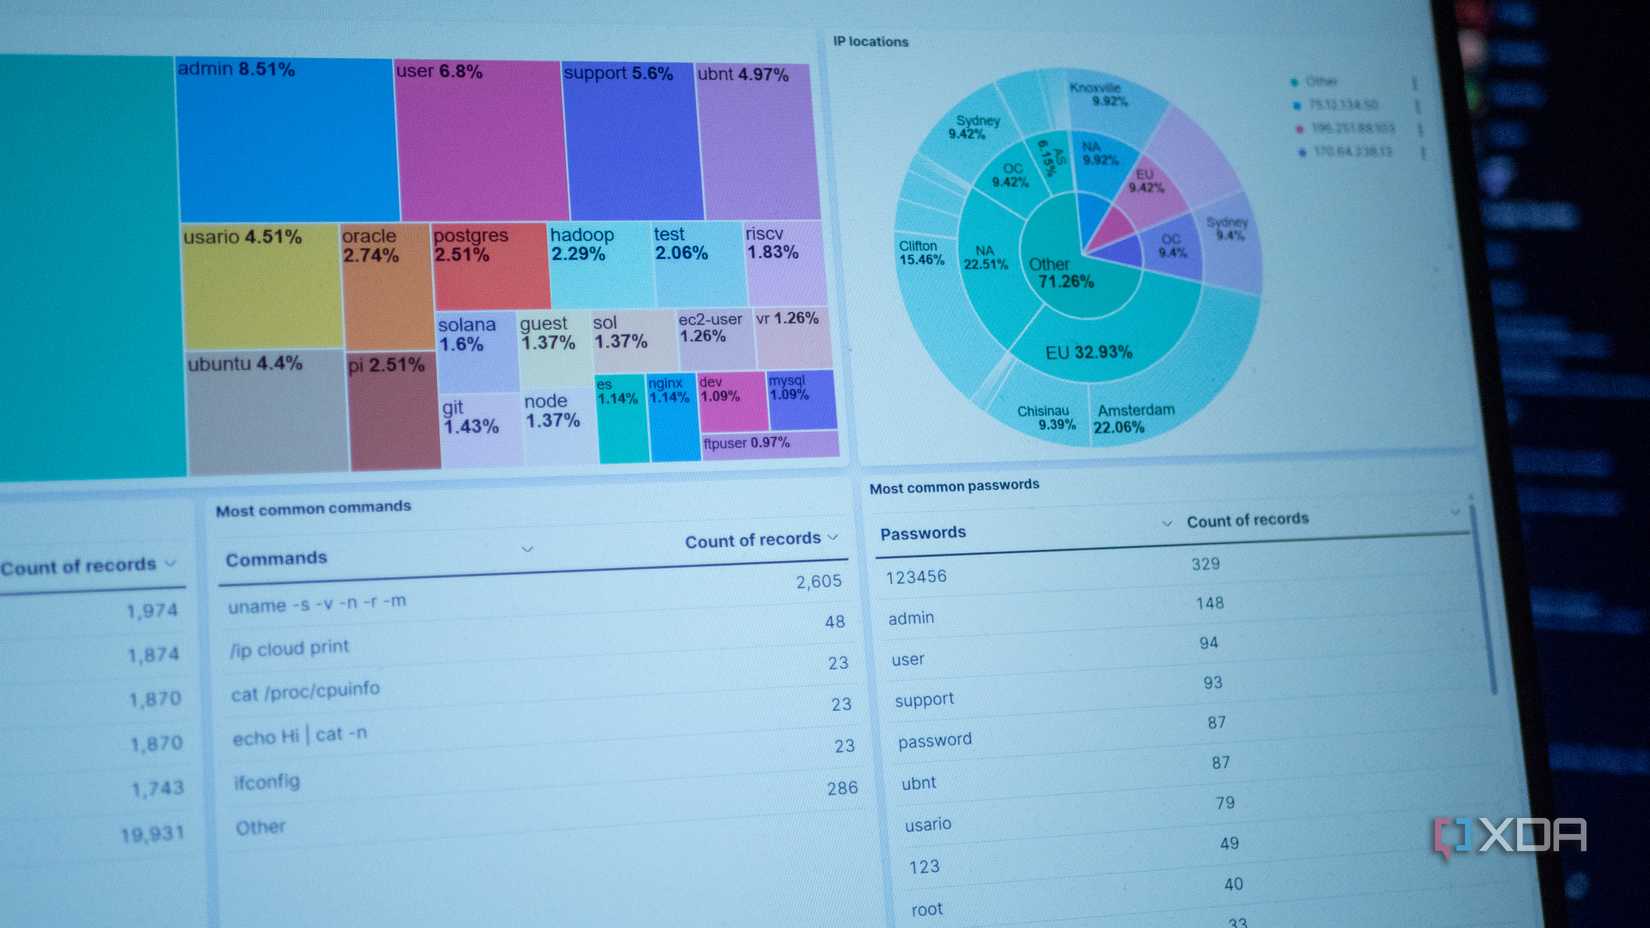
You’ll also be horribly wrong to presume your little NAS is too small a target for bad actors. When a port-hunting bot finds an open port to your network, it typically tries to break in using a list of common default usernames and passwords. Once inside, your NAS becomes the doorway to your home network, and attackers can access other connected devices, such as computers, smart TVs, security cameras, and smartphones.
Dedicated search engines such as Shodan.io make short work of finding exposed ports and services by aiding their discoverability. If your services are exposed, they’ll likely end up here too. There are even entire directories of security cameras that users have inadvertently left exposed to the internet available on Shodan and other dedicated repositories, which is evidence enough that people are looking for these things, and no breach is too insignificant to bother.
In the worst case, attacks affecting your home Wi-Fi lead to ransomware that encrypts every file you own, like the QNAP QLocker ransomware attack in 2021. It could also lead to theft of your banking information, personal identity, and crypto wallets. They can even use your network devices’ processing power to mine cryptocurrency, slowing them to a crawl while you foot the utilities bill.
Sure, some NAS vendors and their software utilities do the legwork of a secure setup for you. You’ll be fine with basic sanitation measures, such as secure passwords that are not reused, multi-factor authentication, non-default credentials, and port forwarding. Additionally, consider IP blocking after multiple failed logins and enabling automatic updates. Synology’s DSM operating system allows configuring all this securely, but the default QuickConnect setup process doesn’t go as far.
Intermediate services like QuickConnect or Plex Pass for remote streaming are generally a better option than direct port forwarding because they often use a third-party relay server. Your NAS connects to their server, and you connect to their server. This avoids punching a direct hole in your firewall. However, if you’re using a third-party server to broker the connection, you might as well consider paying directly for a dedicated cloud service. Either way, you’re entrusting an intermediary with your data for a fee that ensures your connection is reliable while the data is secure.
Setting up remote access correctly
To avoid remote access
If you absolutely must have remote access, there are much safer ways to do it. Most users should re-evaluate their needs and invest in portable storage they can carry instead. However, if you still conclude you need remote access, please don’t set about opening ports on your router. A secure VPN tunnel to your router is many orders of magnitude more secure. As the name suggests, tunnels are direct connections between two devices on the web with zero open ports at either end. Many businesses prefer this access method, but VPNs are still exposed via a network port that remains susceptible to vulnerabilities and production-level attacks.
Network ports are a lot safer than open router ports because the latter can fall victim to a brute-force attack quickly. Meanwhile, WireGuard connections introduce many more variables that deter intruders.
As such, setting up Tailscale or WireGuard and using those as VPN tunnels is a decent middle ground. Tailscale sets up an outbound tunnel from your NAS to an internet node, which your remote access device also connects to. It’s not an involved process for a novice, but in either case, you’ll be responsible for creating and managing the security credentials for anyone who needs access. It’s the most robust way to keep things locked down.
There’s no wrong choice
If setting up user credentials, managing permissions, and getting comfortable with terms in this article sounds like a headache, chances are you’re better off without remote access.
No matter if you’re using a VPN tunnel to your NAS or a proprietary service like Synology QuickConnect, ports open up to enable these connections, and there’s always a non-zero chance a stranger on the internet can break in. This isn’t meant to be fear-mongering or gatekeeping. It’s a genuine precaution given the nuances of networking and the data at stake. If you’re not a networking expert or willing to become one, keep your NAS off the internet, and use a cloud storage service when needed. In resisting the temptation to make it accessible from everywhere, you avoid becoming the low-hanging fruit to automated attacks.