While most people prefer to set up a new Android with a backup of their old device, I always configure a smartphone from scratch. It requires a bit more manual effort than transferring all your data and settings automatically, but the extra work is worthwhile. By choosing your settings individually and curating the apps you want to reinstall, excess bloat is removed, and wasted storage space is recovered. In fact, when an Android phone starts to feel slow or bogged down by apps and files, I won’t hesitate to wipe the device entirely and start all over again.
Android’s user-customizable nature only comes in handy if you take the time to review your settings and make the appropriate changes. After loading a fresh version of Android or switching to a new phone, I immediately change these six default settings.
Automatic Wi-Fi on/off
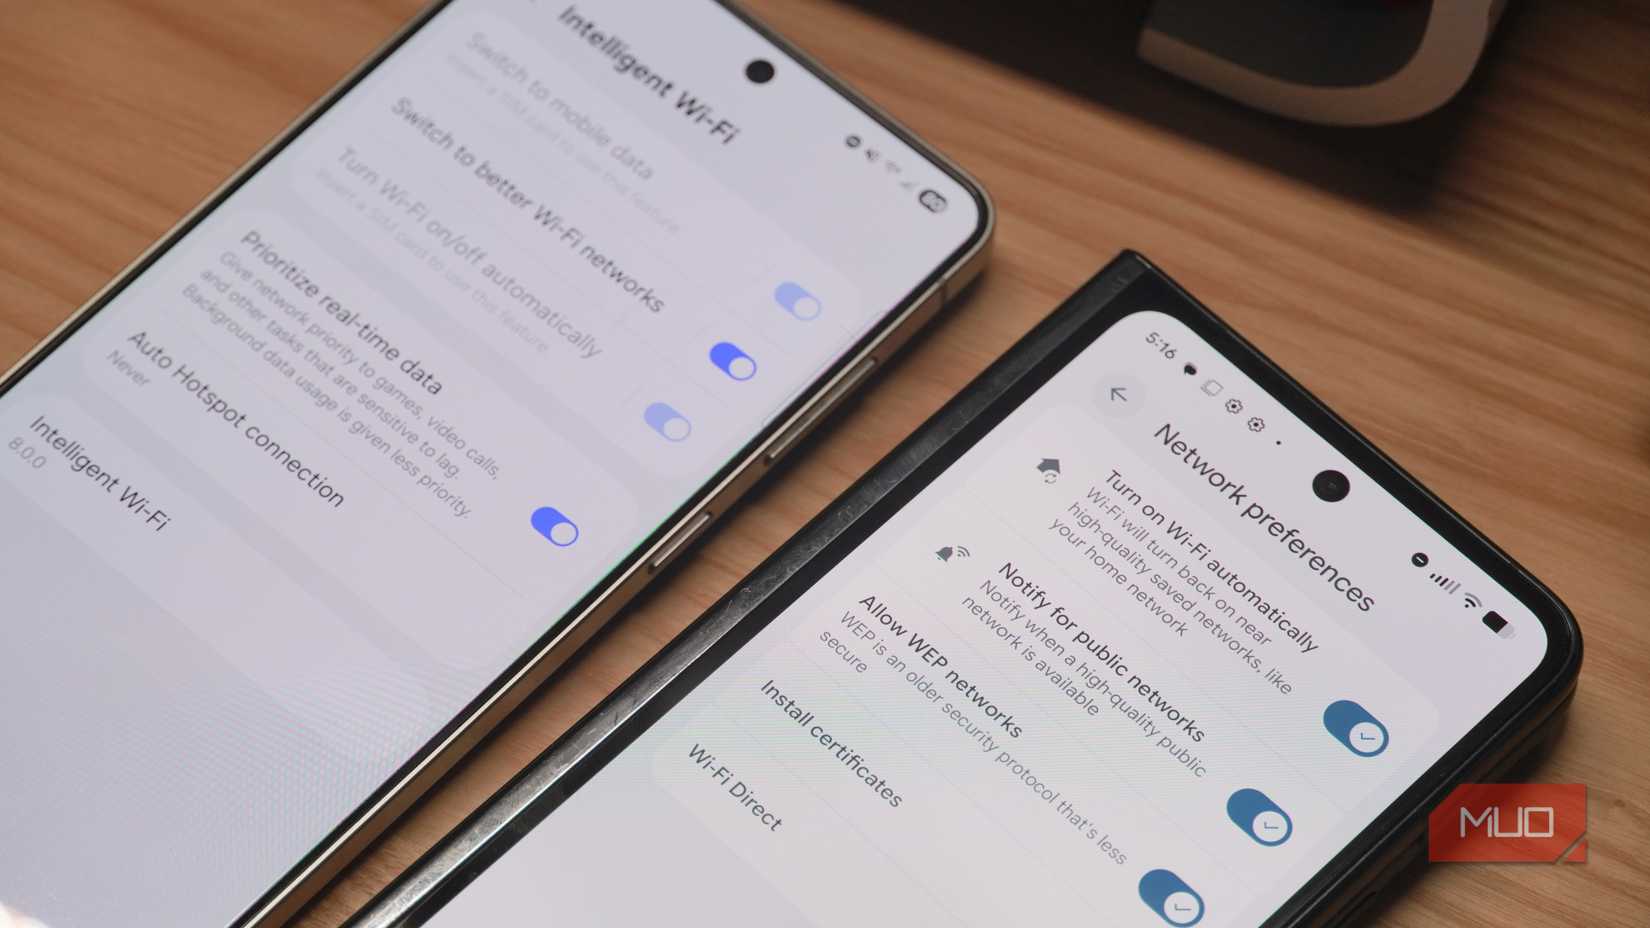
If you want your Wi-Fi to stay off, you’ll need to change this setting
Credit: Brady Snyder / MakeUseOf
When you manually switch off your Wi-Fi connectivity in the Settings app or via the control panel, it’s reasonable to expect it to remain disabled until it is reactivated. However, that is not the default behavior for Wi-Fi connectivity on Android, or iOS for that matter. Instead, a toggle called Turn Wi-Fi on/off automatically can enable or disable wireless networking on your behalf. It’s turned on by default, and it can be frustrating to see your Wi-Fi signal turn on and off outside your control.
I always disable this feature, as it provides minimal battery life benefits in exchange for what could be a major annoyance. To turn it off on a Pixel, navigate to Settings -> Network & internet -> Internet -> Network preferences and tap the toggle beside Turn on Wi-Fi automatically. Galaxy users can navigate to Settings -> Connections -> Wi-Fi -> Intelligent Wi-Fi and tap the toggle beside Turn Wi-Fi on/off automatically.
Adaptive brightness
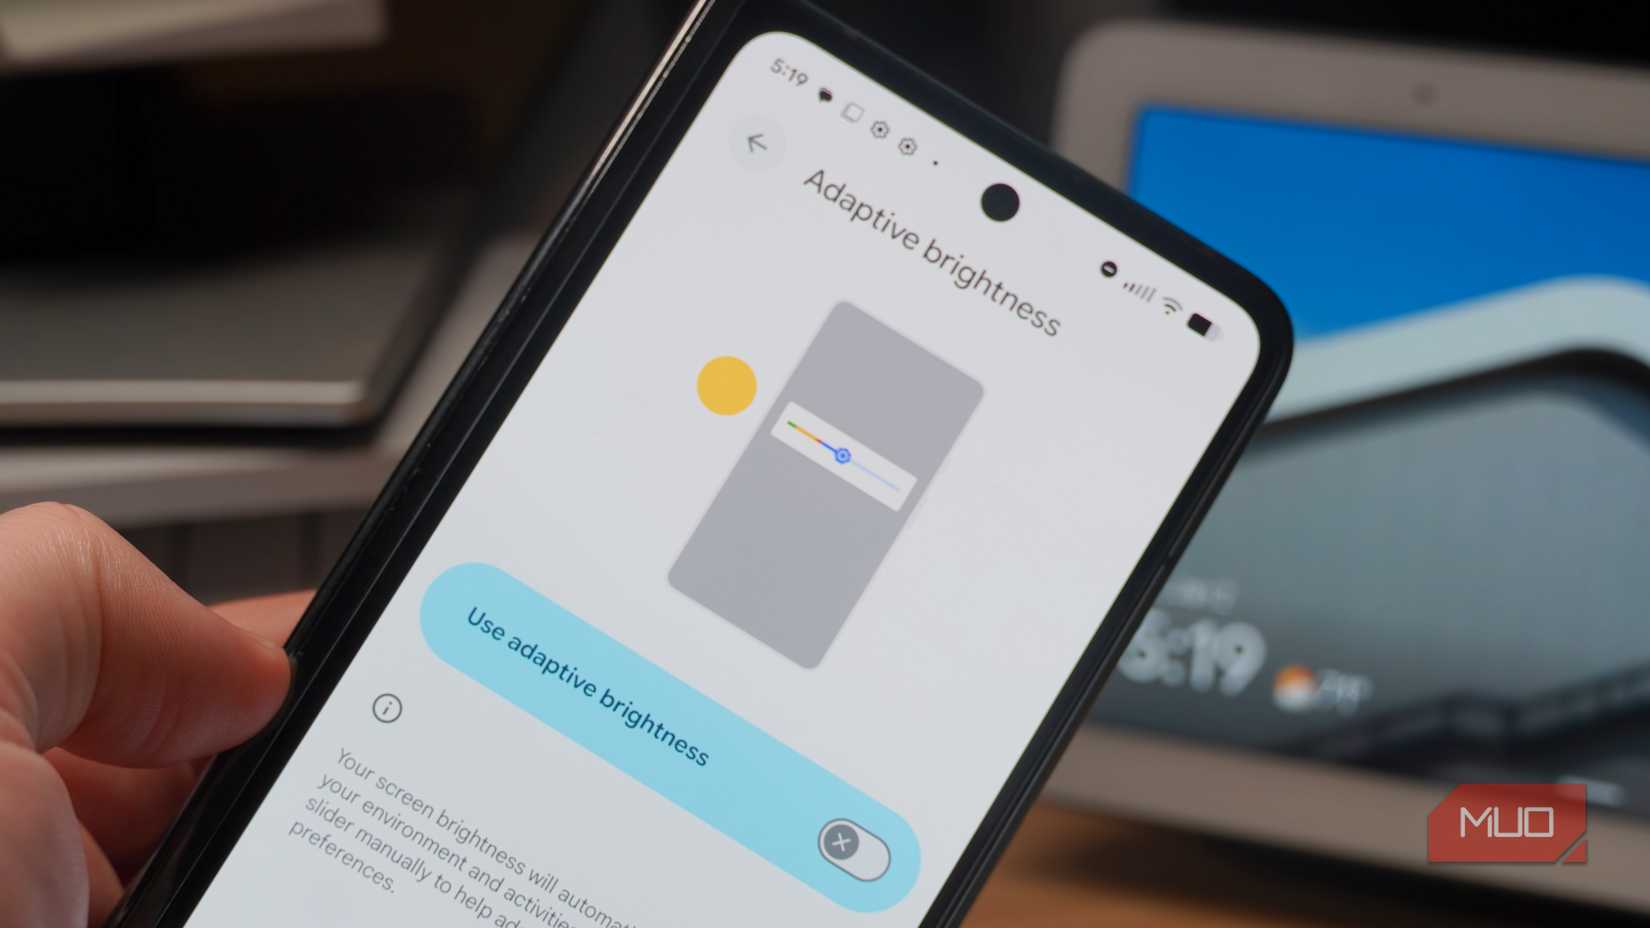
For when you need your screen to stay bright
Credit: Brady Snyder / MakeUseOf
Adaptive brightness is enabled by default on most Android phones and is usually found in your Display & brightness settings page. You may also be able to enable or disable the feature via the brightness widget in the control panel. It uses the ambient light sensor in your Android phone to raise or lower the display’s brightness automatically.
While this is helpful in theory, it can be annoying to manually raise the brightness only for the system to lower it a few seconds later. As such, I always turn adaptive brightness off, choosing to manually manage my brightness level.
Vivid and adaptive color modes
Regain the natural color of photos and videos
Android phones typically add unnecessary vibrancy and oversaturation to their display’s colors by default. Google Pixel phones call this an Adaptive color mode, while Samsung Galaxy phones refer to it as a Vivid color mode. The alternative on both Android 16 and One UI 8 is Natural color, and this is the one you should consider switching to. It’s more likely to display colors in a realistic way, avoiding shades that look too loud and bright.
On either phone, you can switch between the two color modes and see the changes made to a sample photo in real time. Even if you decide to stick with the default Adaptive or Vivid modes, it’s worth comparing the two to find the one you like best. Those who prefer a more color-accurate display profile, like me, might want to switch to Natural.
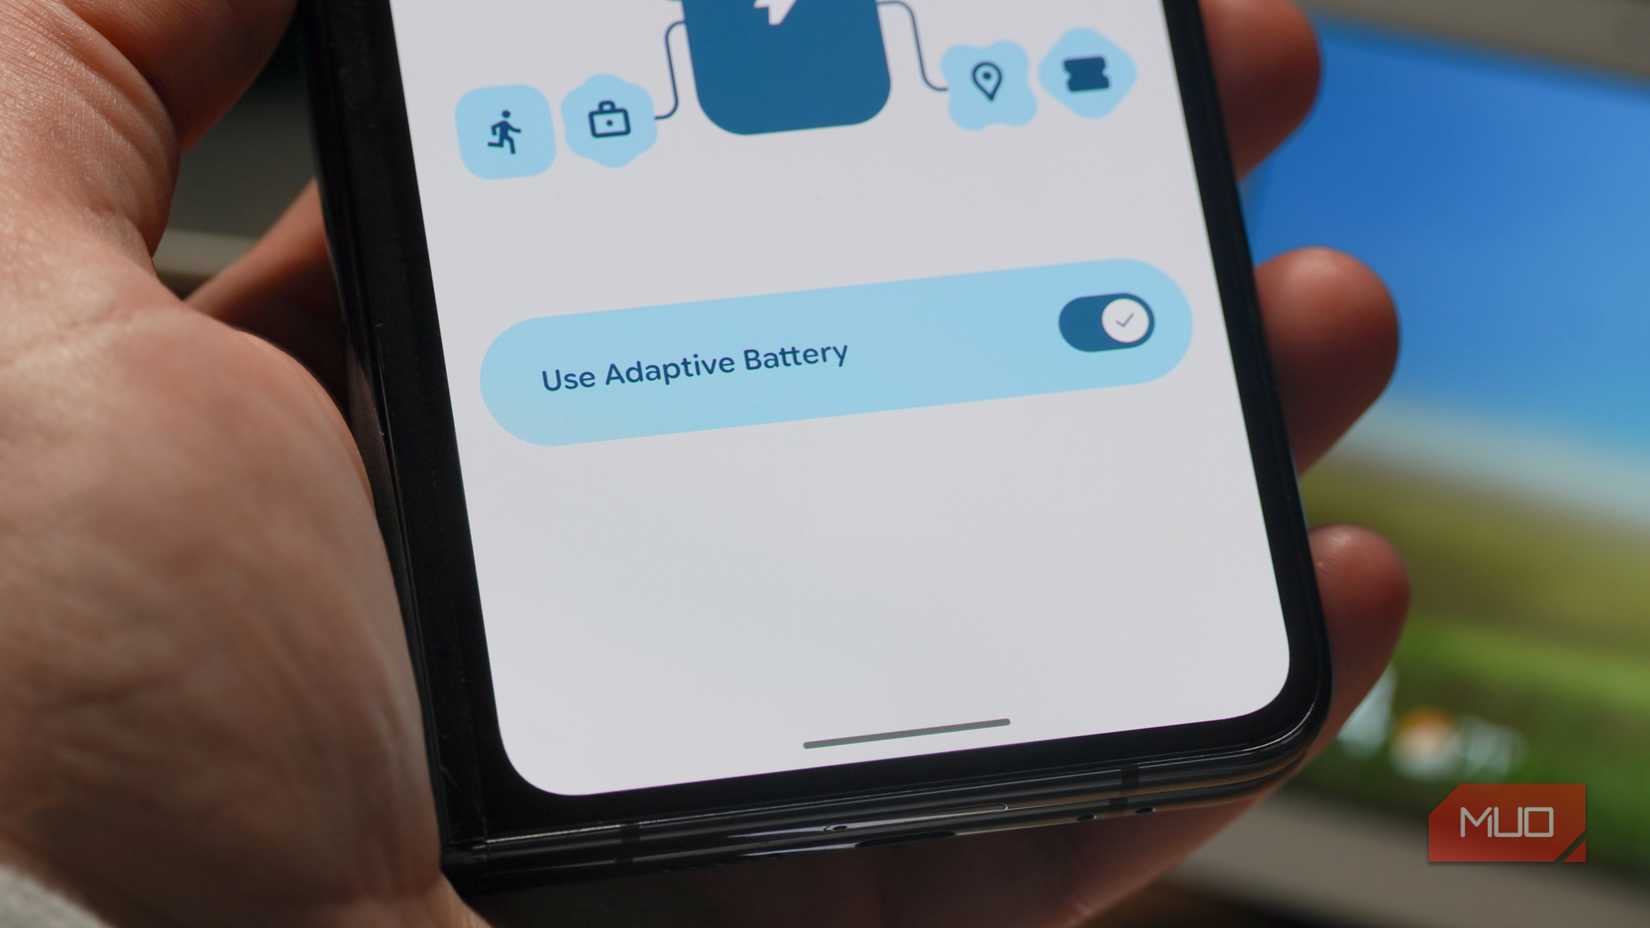
Adaptive battery
The performance optimizations can do more harm than good
Credit: Brady Snyder / MakeUseOf
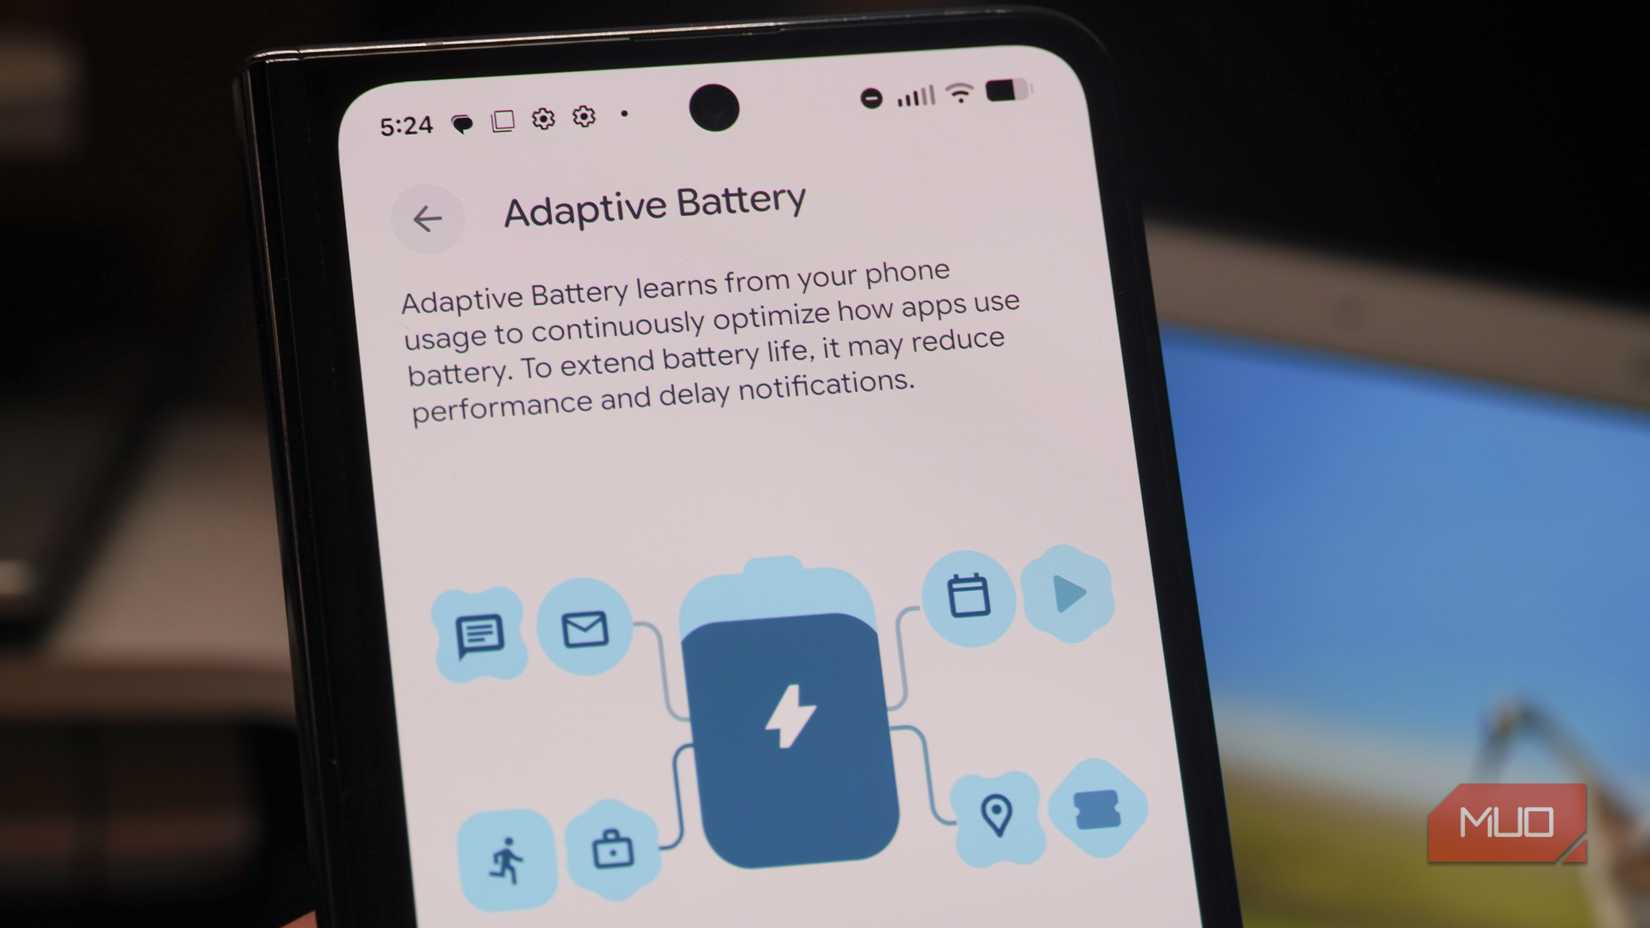
Your new Android phone may come with an Adaptive Battery feature, and it’s up for debate whether you should leave it enabled or not. The intended benefits are clear — the feature tries to deliver longer battery life as it learns your usage habits. However, it does this by automatically managing an app’s background usage. This can “reduce performance and delay notifications,” according to the Google support document for Adaptive Battery on Pixels.
Credit: Brady Snyder / MakeUseOf
Personally, I don’t want to risk missed notifications on my Android phone for minimal battery life gains, so I disable Adaptive Battery. By turning off advanced battery-saving features on your device, you can safeguard performance and the timeliness of your notifications.
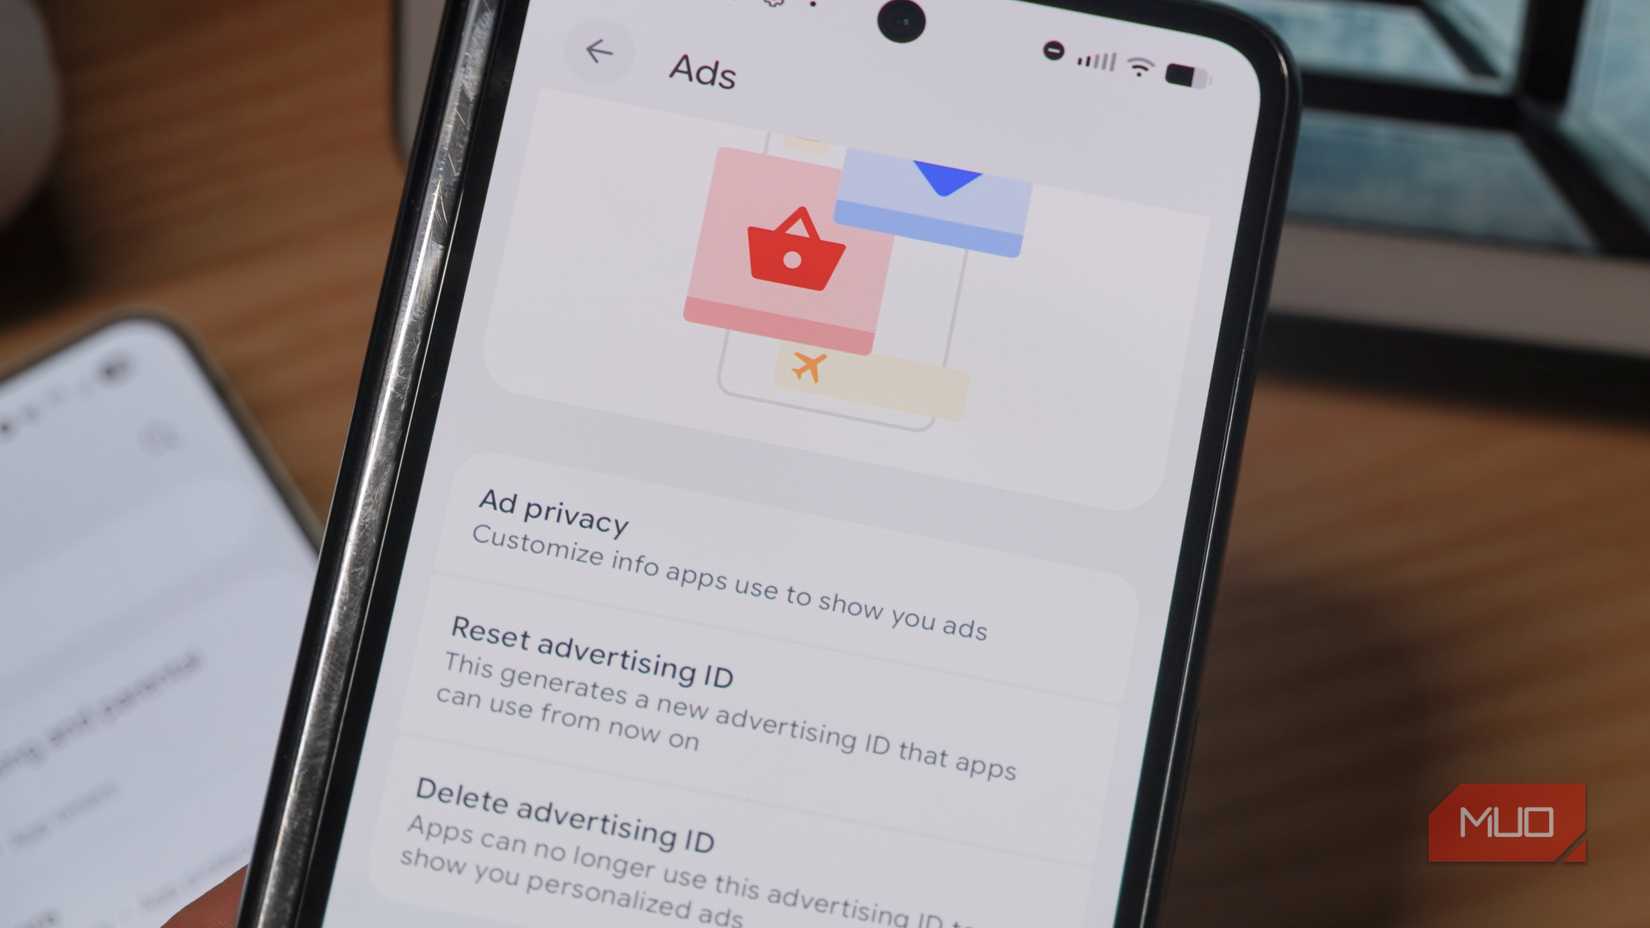
Personalized ads
Did you know your Android phone is personalizing ads by default?
Credit: Brady Snyder / MakeUseOf
You might not know that, by default, your Android phone has an advertising ID that’s used to serve up personalized ads from Google. For privacy reasons, you’ll want to disable this. Open the Settings app, then navigate to Google -> All services -> Ads to find your advertising ID and ad privacy settings. I always disable personalized ads in this menu and delete my device advertising ID whenever possible. This won’t eliminate Google ads across Android and the websites or ads you view, but it will limit advanced tracking and personalization.
Status bar notifications
I prefer a clean and minimalist status bar without app icons

Credit: Brady Snyder / MakeUseOf
This is a minor gripe, but one I deal with every time I start using a new Android phone. By default, many Android phones will show notification icons in the status bar. This may be helpful for some users trying to keep track of their app notifications. For me, it’s intrusive, and I’d rather check the notification shade at my own pace. This is why I turn status bar notifications off completely.
To change your setting, open the Settings app and navigate to Notifications -> Notification settings -> Status bar or Notification icons. Here, you can set your preference of icons, dots, or none for status bar notifications.
It’s worth combing through your Android settings
Most of your Android phone’s default settings can be left as-is, but a few are worth changing. To ensure you’re getting the best experience, take the time to review as much as possible in the Settings app and make the appropriate changes. Some of my pet peeves, like adaptive brightness and status bar notification icons, might not frustrate you in the same way. By jumping around in the Settings app after you set up your device, you’ll see the default settings for an Android phone and have the chance to personalize the operating system.